How to Sew a Simple Tote Bag (Beginner Tutorial)
A tote bag is one of the best first projects you can sew. The shape is a rectangle, the seams are straight lines, and when you are done you have something genuinely useful. If you have ever threaded a sewing machine and sewn a seam, you have enough skills to finish this today.
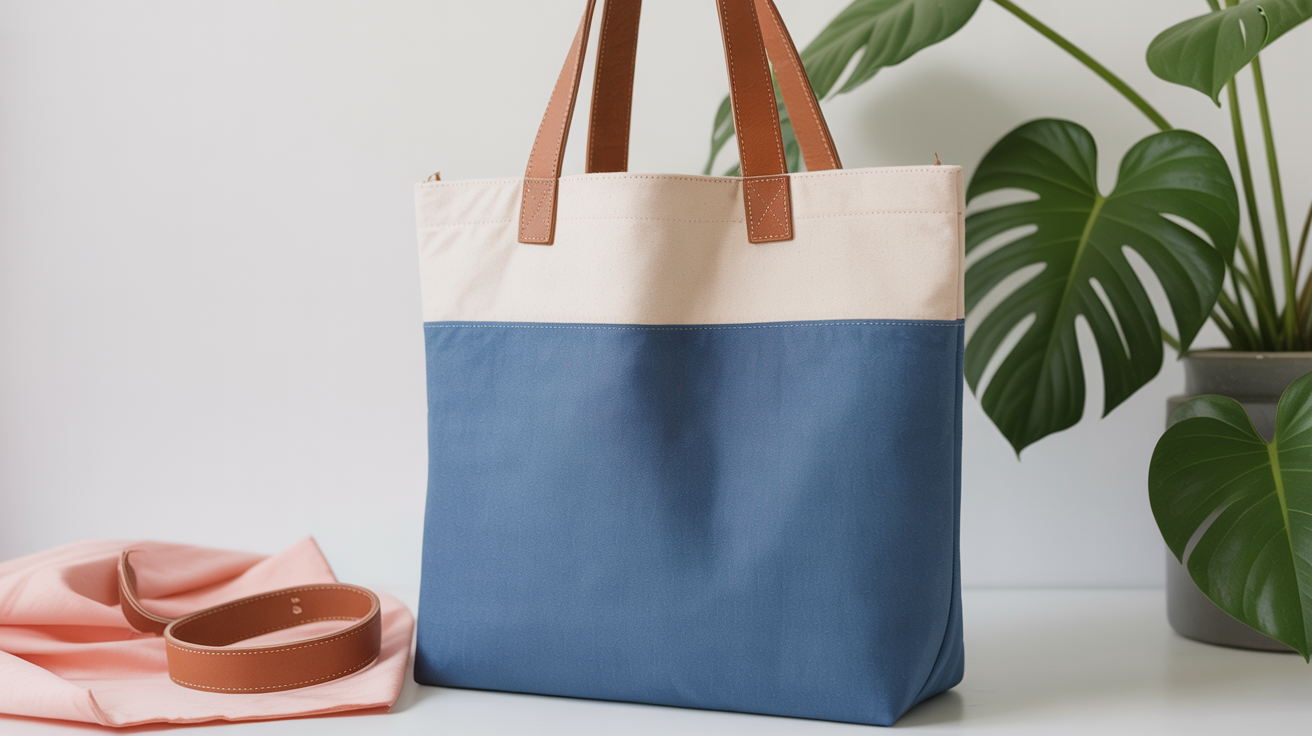
This tutorial makes a roomy market-sized tote: approximately 15 inches wide by 16 inches tall (38 cm x 41 cm) with two 22-inch (56 cm) fabric handles. It will hold a library book haul, a week of groceries, or a gym kit with room to spare.
What you need before you start
Gathering everything first means you will not have to stop mid-project hunting for scissors.
Fabric. You need two rectangles of main fabric, each cut to 16 inches x 17 inches (41 cm x 43 cm). Quilting cotton is ideal for a first tote because it is stiff enough to hold its shape, widely available, and easy to press flat. Calico works equally well and costs very little. Avoid anything stretchy (jersey, knit fabric) until you are more confident, because stretch makes straight seams harder to control.
Handles. Cut two strips of the same fabric, each 5 inches x 24 inches (13 cm x 61 cm). The finished handles will be about 1 inch (2.5 cm) wide after folding and stitching.
Other supplies:
- Sewing machine with an all-purpose presser foot
- Thread that matches or complements your fabric
- Fabric scissors or a rotary cutter and mat
- Ruler and fabric marker or chalk
- Straight pins or wonder clips
- Iron and ironing board
- Seam gauge or ruler (for consistent seam allowances)
A quick note on safety: fabric scissors are surprisingly sharp, and irons cause real burns if you rush. Keep a potholder nearby when pressing, and store your pins in a dish or pincushion so they do not end up on the floor.
How to cut your fabric accurately
Straight cuts lead to straight seams, so it is worth slowing down here.
Wash and dry your fabric before cutting. Cotton shrinks, sometimes by a full inch per yard, and you want that to happen before the bag is sewn together, not after.
Press the fabric flat with your iron on a cotton or medium setting. Wrinkled fabric that shifts under your ruler will give you uneven pieces.
Fold the fabric in half along the selvage (the finished edge), aligning the edges as neatly as you can. Mark and cut your two main panels together so they match exactly. Mark your two handle strips separately from the remaining fabric.
Label the wrong side of each piece with a small chalk mark. This matters once you have several rectangles on the table and cannot remember which side is which.
Sewing the handles
Handles are just long tubes, and making them before the bag means you can attach them in one clean step later.
Fold one handle strip in half lengthwise, wrong sides together, and press the fold. Open it back up. Fold each long raw edge in to meet the center crease, then fold the whole thing in half again along the center so all the raw edges are hidden inside. You should have a neat strip about 1 inch (2.5 cm) wide with no raw edges showing. Pin along the length.
Topstitch close to each long edge, roughly 1/8 inch (3 mm) from the edge. Sew slowly. The strip is narrow and it wants to wobble. Backstitch at both ends of each line to lock the stitching. Repeat for the second handle.
If your topstitching is not perfectly straight the first time, that is genuinely fine. It will be less noticeable once the handle is on the bag, and the next one will be straighter.
Attaching the handles and assembling the bag
This is where it starts to look like a real bag.
Lay one main fabric panel right side up on your work surface. Measure 4 inches (10 cm) in from each side edge along the top. Mark those two points with chalk. Position one handle so its raw ends sit on the marks, handle loop pointing down toward the center of the panel. Pin the ends in place.
The raw ends of the handle should extend about 1 inch (2.5 cm) below the top edge of the panel. Baste (stitch slowly with a long stitch length) across each end, 3/8 inch (1 cm) from the top edge, to hold them in position. Repeat on the second panel with the second handle.
Now place the two panels right sides together, handles sandwiched between them facing inward. Pin around three sides: both long sides and the bottom. Leave the top open.
Sew a 1/2 inch (1.3 cm) seam down one side, across the bottom, and up the other side. Backstitch at every start and stop. Trim the two bottom corners diagonally, cutting close to but not through your stitching. This removes the bulk that would otherwise create stiff lumpy corners when you turn the bag right side out.
Press the seams open if you can reach them with your iron. It takes a minute and it makes the finished bag look much more polished.
Finishing the top edge
Turn the bag right side out and push the corners out gently with a blunt tool, a knitting needle or the eraser end of a pencil works well.
Fold the top raw edge down 1/4 inch (6 mm) to the wrong side and press it. Fold it down again another 1 inch (2.5 cm) and press again. This double fold hides all the raw edge and gives a firm hem at the top of the bag.
Pin all the way around, keeping the fold even. Topstitch around the entire top edge, stitching close to the bottom fold of the hem, about 1/8 inch (3 mm) up. When you reach each handle, sew over it slowly. The layers are thick here, so reduce your speed and let the machine work through them. If your machine struggles, use your handwheel to ease the needle through the thick spot rather than forcing it.
Add a second line of topstitching 1/4 inch (6 mm) above the first for a more secure, polished look. This is optional but worth doing.
Common mistakes and how to fix them
Even simple projects have a few reliable traps. Here is what to watch for.
| Problem | Likely cause | Fix |
|---|---|---|
| Seams pucker or wave | Tension too high or fabric pulled while sewing | Re-test tension on a scrap, let the machine feed the fabric |
| Handle is twisted on the finished bag | Handle was twisted when pinned down | Unpick the hem, reposition the handle, re-sew |
| Top corners are bulky and stiff | Bottom corners not trimmed, or hem pressed unevenly | Press seams open more thoroughly; trim a little more at the corners |
| Topstitching is uneven along the hem | Fold was not pressed crisply before sewing | Next time, press the hem with a little starch for a crisper edge |
| Machine skips stitches at the handles | Needle too fine for the layered thickness | Switch to a size 14/90 needle and try again |
One mistake that catches almost everyone on a first tote: pinning the handles down but forgetting to check which direction the loop is facing. The loop needs to point toward the center of the bag before you sew the panels together. If you catch this after sewing, you will need to unpick and redo that seam. It is frustrating but only takes ten minutes, and you will never make that mistake again.
If you are enjoying this project and want more to try, the 10 easy sewing projects for absolute beginners guide has several that use the same straight-seam skills you just practiced. A drawstring bag is a natural next step because it introduces a casing but still has only rectangular pieces.
Frequently asked questions
Can I use an old bedsheet or curtain fabric instead of quilting cotton?
Yes, as long as the fabric is not too thin or too stretchy. A cotton bedsheet works well. Curtain fabric varies a lot; avoid anything with a lot of drape or any stretch. Stiff, tightly woven fabric holds its shape best for a bag.
Do I need to line the tote bag?
Not for this version. A single layer of quilting cotton is sturdy enough for everyday use. If you want a lining later, cut two more rectangles the same size as the main panels, sew them together the same way, leave a small gap in the bottom seam, slip the outer bag inside, stitch the two bags together at the top edge, and pull everything through the gap. It is a great technique to try once you are comfortable with the basic bag.
My handles look floppy. How do I make them stiffer?
You can interface the handle strips before folding them. Cut two strips of medium-weight fusible interfacing the same size as the handle strips, iron them on according to the package instructions, then fold and sew as usual. This adds structure without much extra bulk.
How do I adjust the size?
Add or subtract from both the width and height of your main panels. Keep the seam allowance at 1/2 inch (1.3 cm) on each side and add 1.25 inches (3 cm) to the height for the hem. For handles, adjust the length but keep them at least 20 inches (51 cm) so the bag is comfortable to carry over a shoulder.
What stitch length should I use?
For the main seams on quilting cotton, a stitch length of 2.5 mm is a good starting point. Use 3.0 mm for basting (temporary stitches you might need to remove). For topstitching, 3.0 mm gives a more visible, decorative look. Always test on a scrap piece of your actual fabric before sewing the project, because every machine behaves a little differently.