How to Sew a Zippered Pouch (Your First Zipper)
A zippered pouch is one of the most useful things you can sew, and it teaches a skill that carries into hundreds of other projects: installing a zipper. The pouch itself takes about an hour once you know the steps, and the technique transfers directly to bags, pencil cases, pillows with hidden closures, and garment pockets.
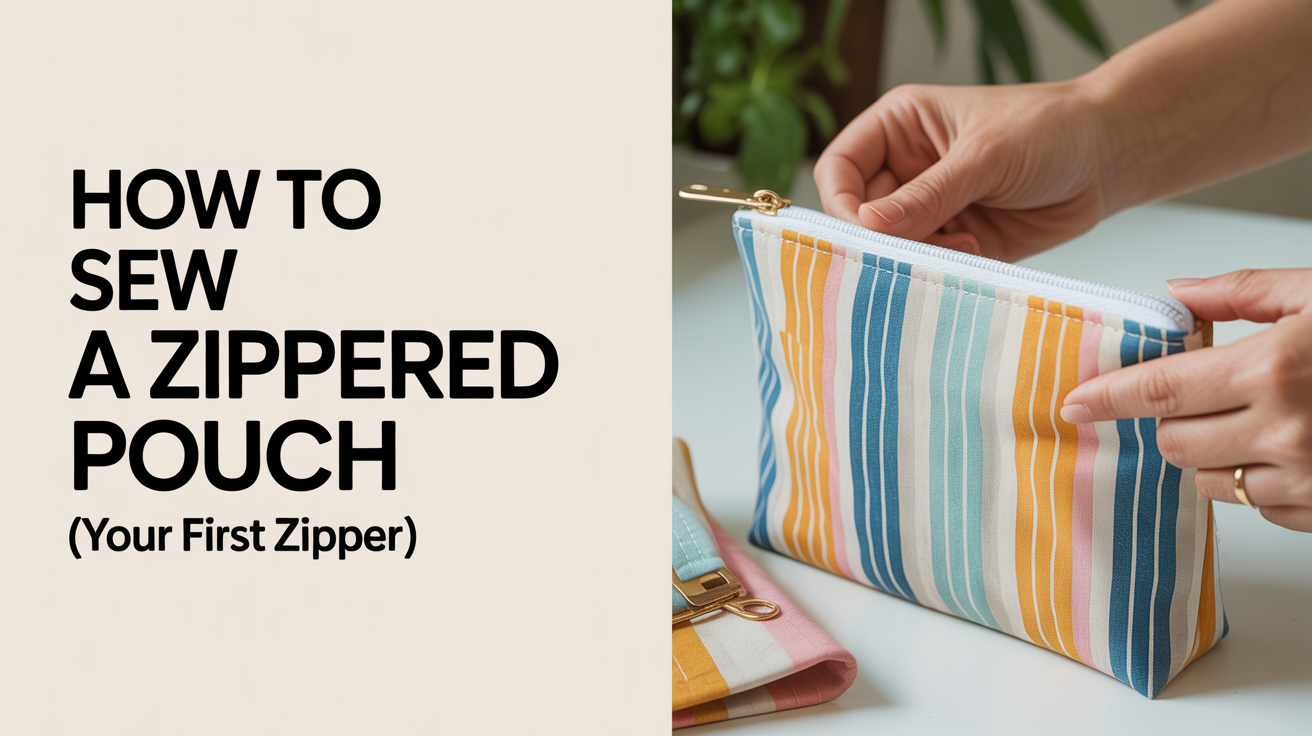
This guide walks through a flat zippered pouch roughly 8 inches wide by 5 inches tall. Treat the measurements as starting points and test your zipper foot position on scrap fabric before sewing the real thing.
What You Need
Fabric and zipper:
- Two fabric pieces, each cut to 9 x 6 inches (outer fabric)
- Two lining pieces, each cut to 9 x 6 inches
- One 9-inch zipper (nylon coil or polyester zipper tape works well for a first project)
Tools and notions:
- Sewing machine with a zipper foot
- Pins or clips
- Iron and pressing surface
- Scissors or rotary cutter
- Seam ripper (useful to have nearby)
- Thread to match your fabric
A zipper foot is the narrow presser foot that lets you stitch close to the zipper teeth. Most machines come with one. If yours did not, check if the manufacturer sells one that fits your model.
Sharp needles and pins, scissors, and a hot iron are part of working with zippers. Work carefully, keep fingers away from the iron plate, and test iron temperature on scrap first.
How to Attach the Zipper to the Fabric Panels
The method used here is called a sandwiched zipper installation. You sew the outer fabric and lining together at the zipper tape, which hides the raw edges cleanly.
Step 1: Press your fabric. Press all four pieces flat. Crisp fabric is easier to align and gives more accurate seam placement.
Step 2: Make the first sandwich. Lay one outer fabric piece face up on your work surface. Place the zipper on top, face down, with the zipper tape aligned to the top long edge of the fabric. The zipper pull should be at the left. Now lay one lining piece on top, also face down. You have a sandwich: lining face down, zipper in the middle, outer fabric face up underneath.
Pin or clip through all three layers at the top edge.
Step 3: Sew the first side. Attach your zipper foot and stitch along the top edge, about 3/8 inch from the zipper teeth. Keep stitching slow and steady. When the zipper pull is close to the foot, stop with your needle down, lift the foot, slide the pull behind the needle, lower the foot, and continue. This keeps the seam line straight instead of angling around the pull.
Step 4: Press, then topstitch. Open the sandwich out so the outer fabric and lining face away from each other with the zipper exposed at the top. Press the fabric away from the zipper teeth. Topstitch close to the fold, roughly 1/8 inch from the fold line. This holds the fabric away from the teeth so the zipper slides without catching.
Step 5: Attach the second side. Lay the second outer fabric piece face up. Place the free side of the zipper face down on top, aligning the tape to the top edge of this new panel. Add the second lining piece face down on top to complete the sandwich. Pin, then stitch as you did the first side. Press and topstitch the second side the same way.
At this point you have a zipper flanked by fabric on both sides. Open and close the zipper a few times to confirm it moves freely.
How to Sew the Pouch Closed
Step 1: Open the zipper halfway. This is important. If the zipper is closed when you stitch around the edges, you cannot turn the pouch right-side out afterward.
Step 2: Arrange the layers. Fold the whole assembly so the two outer fabric pieces face each other and the two lining pieces face each other. The zipper runs along the top. Pin around the three remaining edges, outer panels together on one side and lining panels together on the other.
Step 3: Mark a turning gap in the lining. Along the bottom edge of the lining, mark a 3-inch gap in the center. You will leave this section unsewn for turning.
Step 4: Stitch around the edges. Switch back to your regular presser foot. Sew around the outer fabric sides and bottom with a 1/2-inch seam allowance. Then sew the lining sides and bottom, leaving the marked gap open. Backstitch at the start and end of each seam, and backstitch at both sides of the turning gap too.
Step 5: Clip the corners. Trim across each corner close to the stitching without cutting through it. This reduces bulk and gives sharper corners when the pouch is turned.
Turning and Finishing
Pull the outer fabric through the turning gap in the lining. Work the corners out gently with a blunt tool such as a chopstick or a closed seam ripper. Press the pouch so the seams lie flat.
Tuck the lining into the outer pouch. The zipper should sit at the top with both layers nested together neatly. Press once more around the zipper edge.
Close the turning gap by hand with a slip stitch, or machine stitch close to the folded edge of the gap. Either method holds well.
Give the finished seams a final press and test the zipper. The pouch is done.
Common Problems and How to Fix Them
| Problem | Likely cause | Fix |
|---|---|---|
| Zipper pull is hard to move | Stitching too close to teeth | Use a seam ripper, move stitching line a thread or two away from teeth |
| Fabric puckers along the zipper | Fabric not pressed flat before sewing | Press carefully; topstitching helps hold it smooth |
| Lining bubbles inside the pouch | Lining cut slightly larger than outer | Trim lining seams slightly narrower next time |
| Corners look lumpy | Corners not clipped | Clip and re-press; use a point turner to push corners out gently |
| Seam came apart at the turning gap | No backstitch at the gap edges | Hand sew the gap closed and add a few backstitches by machine on either side |
If the zipper tape is longer than the fabric, leave the extra tape hanging off the edge and trim it after you sew the side seams. If it is shorter, center it between the side edges and tack the ends down with a few hand stitches before you start.
Once the basic pouch is comfortable, the same technique works on a flat tote bag, a pencil case, or a pouch with a gusset for extra depth. This project connects directly to 10 easy sewing projects for absolute beginners if you want a broader map of what to try next.
Frequently Asked Questions
Do I need a special needle for sewing near a zipper? A standard universal needle (size 80/12) handles most woven fabrics and nylon zipper tape. If the needle skips stitches or deflects against the zipper teeth, try a fresh needle. Dull needles struggle near the tape.
My machine does not have a zipper foot. Can I still do this? A zipper foot makes the job easier, but in a pinch you can use a regular presser foot and move your needle position to the far left or right. Many machines allow needle-position adjustment. Check your manual. The stitching will not sit as close to the teeth, which means the zipper may be slightly harder to open and close.
What zipper length should I use? For the 9-inch-wide pouch in this guide, a 9-inch zipper is ideal. You can use a longer zipper and trim the excess after sewing the side seams. Avoid going shorter, because the zipper opening becomes too narrow to get items in and out easily.
How do I keep the zipper pull from getting in the way while sewing? Slide the pull to the end of the zipper before you start each seam, then stop with the needle down, raise the foot, and nudge the pull past the foot to continue. With practice this takes two or three seconds per seam.
Can I use this same method on a tote bag? Yes. The sandwiched zipper installation is the same whether the panel is 9 inches or 18 inches wide. For a larger bag, baste first to hold the layers in place before stitching the final seam. For more beginner bag ideas, see how to sew a simple tote bag.