How to Sew Slippery Fabrics Like Silk and Satin Without Shifting
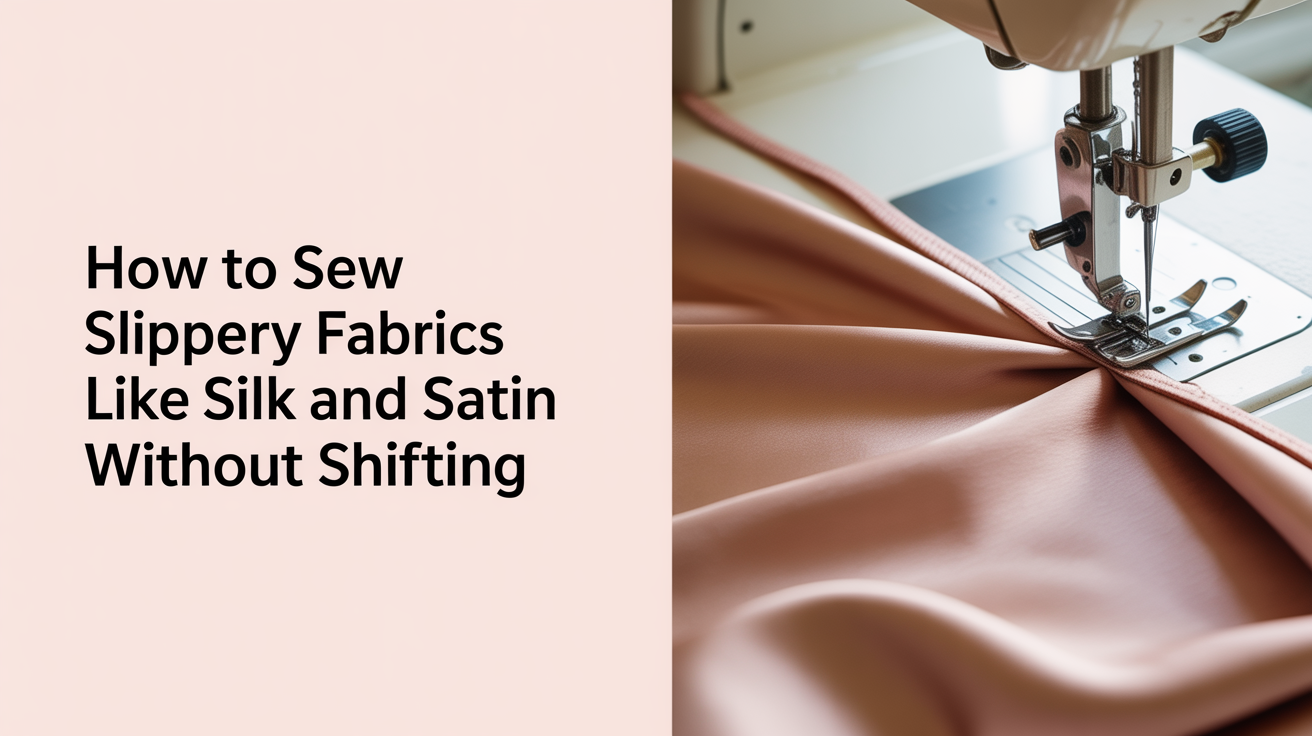
The first time you try to sew slippery fabric, it feels like the fabric has a mind of its own. Silk charmeuse creeps sideways while you cut it. Satin bunches up under the presser foot instead of feeding through evenly. You pin it and the pins leave little pockmarks, or the layers shift anyway the second you pick the piece up. None of that means you're doing something wrong. Slippery fabrics behave differently from cotton and need a different approach at almost every step, from laying them out to the last stitch of the seam.
This guide covers what actually helps: cutting these fabrics without them sliding around, setting up your machine so it doesn't chew fabric into the feed dogs, and what to expect even when you do everything right.
Why Silk and Satin Are Hard to Control
Slippery fabric slides because it has very little surface friction. Cotton grips itself and grips your hands. Silk, satin, charmeuse, and similar synthetics glide against each other, against your cutting table, and against the metal of your presser foot. That same quality is part of why the fabric drapes so nicely once sewn, but it makes every step before that final seam more fiddly.
There's a second issue with many of these fabrics: they fray easily along a cut edge, sometimes within minutes of cutting. That's a property of a loose or fine weave, not a sign that your scissors were dull or your seam allowance was wrong. Expect some fraying and plan your seam finishing around it rather than trying to eliminate it entirely.
Cutting Without the Fabric Sliding Away From You
Cutting is where most of the frustration starts, so it's worth slowing down before you even thread a needle. If you haven't already, read up on common fabric types so you know whether you're holding a woven silk, a synthetic satin, or a knit with some sheen, since handling differs slightly for each.
Skip the pins for cutting. Standard pins pull slippery fabric out of alignment as you stick them in, and they can leave visible holes in delicate silk. Two better options:
- Pattern weights. Anything flat and heavy works: printed pattern weights, washers, even clean soup cans. Set your pattern piece on the fabric, weight it down at several points, and cut around it with the fabric lying flat and undisturbed.
- Clips. Small plastic clips (the kind sold for quilting binding) hold pattern paper to fabric at the edges without piercing anything.
Cut on a stable, grippy surface. A rotary cutting mat grips slippery fabric better than a bare table. If you're using scissors instead of a rotary cutter, long, smooth strokes work better than short choppy snips, which tend to shift the fabric with every cut.
One layer at a time. It's tempting to fold the fabric and cut two layers at once the way you might with cotton, but with silk and satin the layers slide against each other and you'll end up with two different shapes. Cut a single layer, flip your pattern piece, and cut again for the mirror image.
If you're not confident about cutting accurately in general, our guide to measuring and cutting fabric accurately covers the basics that apply here too, with less margin for error since a shifted layer is harder to spot on fabric with this much sheen.
Setting Up Your Machine Before You Sew
A few setup choices matter more for slippery fabric than for almost anything else you'll sew.
Use a Fine, Sharp Needle
A dull or heavy needle pushes slippery fabric down into the throat plate instead of piercing it cleanly, which is part of why satin seems to "eat" fabric at the start of a seam. A fine sharp needle, sized for lightweight fabric, punches a clean hole instead of dragging threads out of place. If you're unsure which needle you have loaded or how to pick the right one, see our guide on choosing the right sewing machine needle. A fresh needle matters too. Needles dull faster than people expect, and one that's already sewn a few projects may be too blunt for silk even if it started out fine.
Match the Thread to the Fabric
Heavy thread drags on lightweight fabric and can pucker a seam before you've finished sewing it. Use a fine, lightweight thread (cotton or polyester both work) so the stitch sits into the fabric instead of on top of it.
Back the Fabric With Tissue Paper
This is the single most useful trick for slippery fabric: place a strip of lightweight tissue paper (tracing paper or even the tissue your pattern came printed on) underneath the fabric as you sew the seam. The tissue gives the feed dogs something with texture to grip, so the fabric underneath moves through evenly instead of sliding or getting pushed down into the machine. Once the seam is sewn, tear the tissue away from the stitching line. A lightweight tear-away stabilizer works the same way if you have some on hand.
Sewing the Seam: Stitch Length, Speed, and Feet
Shorten Your Stitch Length
A slightly shorter stitch length, around 1.5 to 2mm instead of the standard 2.5mm, holds slippery fabric together more securely and reduces skipped stitches. It also makes a seam that curves or shifts slightly less noticeable.
Slow Down
Sewing slippery fabric fast is asking for trouble. At high speed the fabric has less time to feed evenly and more chance to bunch or shift under the foot. Sew slower than feels natural, especially at the start and end of a seam, and guide the fabric gently with your hand rather than letting the machine pull it through alone.
Use a Walking Foot If You Have One
A walking foot feeds the top layer of fabric at the same rate as the feed dogs feed the bottom layer, which matters enormously on fabric that likes to slide. If yours doesn't have one built in, most machines accept an attachment version, worth owning if you'll sew silk or satin more than once.
Try a Straight-Stitch Throat Plate
Standard throat plates have a wide opening to accommodate zigzag stitches, and that wide opening is exactly where lightweight fabric gets pushed down and jammed. A straight-stitch throat plate has a small round hole sized just for a straight stitch, which supports the fabric right at the needle and stops it from disappearing into the machine. Not every machine has one available, but if yours does, it's a worthwhile accessory for this kind of fabric.
Setting Realistic Expectations
Even with every one of these steps done well, expect some imperfection. A little fraying along a raw edge is normal for silk and many satins, not a sign of a mistake. Slight puckering on a seam is common the first several times you sew these fabrics, and it improves once you've handled a few yards and developed a feel for how much to guide the fabric with your hands. Finish seam allowances promptly (a narrow zigzag, a serger, or a line of seam sealant) since fraying gets worse the longer a cut edge sits unfinished.
That kind of small imperfection is a normal part of learning to sew fabric that behaves so differently from quilting cotton. The skills here, working slowly, backing the seam, using the right needle and thread, carry over directly to other slippery fabrics you'll meet later, like rayon challis or lightweight polyester lining.
Frequently Asked Questions
Do I need special pins for silk and satin?
You don't strictly need special pins, but fine, sharp ones made for delicate fabric leave smaller holes and snag threads less than standard dressmaker pins. Many sewers skip pins entirely for cutting and use weights or clips instead, saving pins for holding seams together right before sewing, placed within the seam allowance so marks won't show.
Why does my satin keep getting sucked into the machine at the start of a seam?
This usually happens because the fabric doesn't have enough resistance to stay flat as the needle first engages it. Starting your stitch line on a small scrap of tissue paper, then sliding your actual fabric under the foot once the machine is moving, prevents this. A straight-stitch throat plate helps for the same reason, since it doesn't leave room for the fabric to dip down into a wide opening.
Is fraying a sign I'm doing something wrong?
No. Many silks and satins fray simply because of how they're woven, and it happens to experienced sewers as much as beginners. The fix isn't to stop it happening but to finish your seams soon after cutting, before fraying eats into your seam allowance.
Can I use a regular presser foot instead of a walking foot?
Yes, plenty of people sew silk and satin successfully with a standard presser foot. A walking foot makes the process easier and more forgiving, but it isn't required. If you don't have one, lean more heavily on the other tricks here: tissue paper backing, a shorter stitch, and a slower sewing speed.
What if my fabric shifted and the seam isn't quite even?
On a first project, this is common enough that it's worth not unpicking and redoing every imperfect seam. If the shift is small, press the seam well and move on. Save the unpicking for shifts big enough to actually distort the garment's fit. Part of getting comfortable with slippery fabric is learning which imperfections matter and which ones disappear once the piece is finished and worn.