How to Press Seams the Right Way (and Why It Matters)
Pressing your seams is one of those habits that separates a tidy, flat garment from one that looks homemade in all the wrong ways. It takes about thirty seconds per seam, requires no special talent, and makes everything that comes after easier. If you have been skipping this step, or just running the iron back and forth the way you would on a shirt, this guide will show you a better way.
Why pressing matters more than you might think
When you sew two pieces of fabric together, the seam allowance (the fabric between the stitching line and the raw edge) sits in a little pile inside the garment. Left unpressed, that bulk makes every subsequent seam harder to match, every topstitch wobbly, and the finished piece thicker and stiffer than it needs to be.
Pressing flattens the seam allowance and sets the stitches into the fabric. Setting the stitches sounds technical, but it just means the thread sinks into the weave properly and the seam becomes stable. On woven fabrics like quilting cotton or linen, this makes a visible difference: the stitching line becomes crisper, and the fabric lies flat without persuasion.
You will also find that pressing makes matching points much easier. When you come to sew a second seam across the first one, a flat, well-pressed seam sits predictably under the presser foot. A lumpy, unpressed one shifts around and throws off your alignment.
Pressing vs ironing: what is the actual difference
Most beginners use the two words interchangeably, and the tools are the same, so the confusion is understandable. The difference is in how you move the iron.
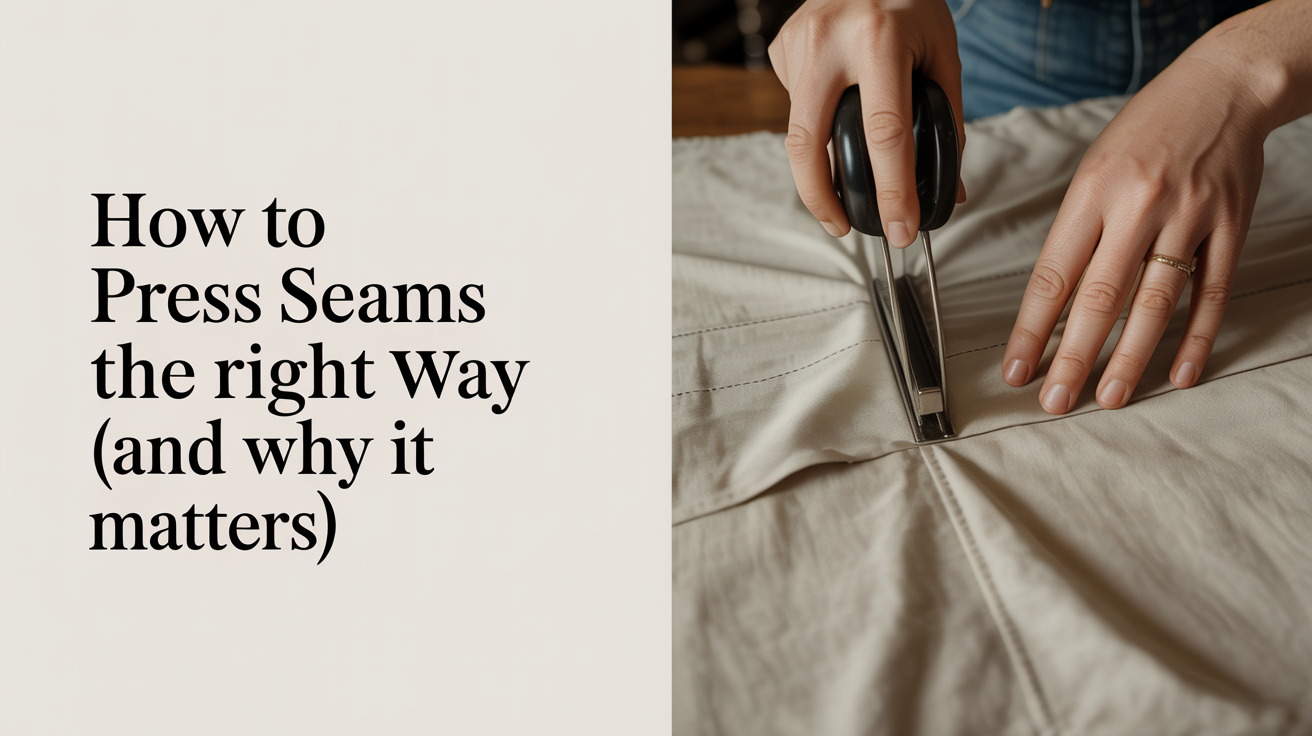
Ironing means sliding the iron across the fabric, which is great for smoothing out wrinkles before you cut or sew. Pressing means lifting the iron straight up and setting it down on the next section. No sliding. You press down, hold for a few seconds, lift, move, and press again.
Why does this matter? Sliding the iron can stretch fabric, especially anything cut on the bias or any knit fabric. It also moves the seam allowance around underneath, so you end up with a rippled or shifted seam instead of a flat one. Pressing straight down keeps everything exactly where you stitched it.
A few other habits that help:
- Press on the wrong side of the fabric whenever possible to protect the right side from shine or scorch marks.
- Use a pressing cloth (a piece of plain cotton muslin or even a clean tea towel) between the iron and delicate fabrics like silk, velvet, or any synthetic.
- Test your iron temperature on a scrap of your actual fabric before touching the project. Synthetic fabrics especially can melt or pucker at high heat, and you want to find that out on a test piece, not on a finished seam.
- Keep a spray bottle of water nearby for stubborn seams on natural fibers, but use steam sparingly on loosely woven fabrics that can distort when wet.
How to press a seam step by step
Start right after you finish stitching, before you do anything else with the piece.
Step 1: Press the seam flat as sewn. Lay the sewn piece on your ironing board exactly as it came off the machine, with the seam allowance still folded together the way it was stitched. Press the iron over the stitching line. This sets the stitches and removes any puckers caused by the sewing process.
Step 2: Open or press to one side. Now decide whether you are pressing the seam open or pressing it to one side. More on that choice in the next section. For pressing to one side: fold the top piece of fabric back along the stitching line, then press the seam allowance flat underneath it. Run the tip of the iron into the fold to get the seam line itself crisp and flat.
Step 3: Check from the right side. Flip the piece over and press lightly from the right side, using a pressing cloth if the fabric needs protecting. Look at the seam line. It should sit flat with no ridge, no bubble, and no drag lines on either side. If you see a ridge from the edge of the seam allowance showing through, that is seam allowance imprint and you can reduce it by pressing on the wrong side over a seam roll or a tightly rolled towel.
Step 4: Let it cool before moving on. Fabric holds its shape better if you let it cool for thirty seconds after pressing. If you pick it up while it is still hot and damp, you can stretch the seam out of shape without realizing it.
When to press seams open and when to press them to one side
This is the question beginners ask most often, and the answer depends on the fabric, the pattern, and what you are making.
| Situation | Press open | Press to one side |
|---|---|---|
| Quilting cotton, lightweight linen | Good choice | Also fine |
| Bulky fabric (denim, canvas, thick wool) | Yes, to reduce bulk | Avoid if you can |
| Knit fabrics | Usually to one side | Pressing open can distort |
| Seams that will be topstitched | Open (topstitch both sides) | One side (topstitch on one side) |
| Seams at curves (princess seams, armholes) | Yes, with clipping/notching first | Can cause pulling |
| Patch pockets, cuffs, waistbands | One side (for strength) | Not usually recommended |
Pressing seams open gives the flattest result and distributes bulk evenly on both sides of the seam line, which is why quilters almost always press open. Pressing to one side is faster and gives a slightly stronger seam, since the layers are not divided, which is why it is often used in clothing construction, especially at stress points like crotch seams.
When in doubt on a garment project, follow what the pattern instruction sheet says. Pattern instructions specify pressing direction because it affects how the next seam will behave and whether topstitching will look right.
Pressing curved seams and tricky spots
Flat seams on straight pieces are easy. Curves need a little more care.
Before pressing a curved seam (like the seam around a sleeve cap or a curved hem allowance), clip or notch the seam allowance so it can open out without puckering. For an inward (concave) curve, clip small notches about every half inch (12 mm). For an outward (convex) curve, clip small V-shaped notches. Then press the seam over a tailor's ham, which is a firm, rounded pressing tool that mimics the curves of a body. If you do not have a ham yet, a rolled-up towel tied tightly works reasonably well.
For seams in tight spots, like the underarm area of a sleeve or the corner of a collar, use the pointed tip of the iron and work slowly. A wooden seam roller (a small wooden dowel-like tool, often sold alongside tailor's hams) is also useful here: you press the seam allowance open over the roller with your fingers or a blunt tool, then press with the iron.
Corners that need to be turned (like on a bag flap or a collar) press best if you press the seam flat, trim the corner diagonally to reduce bulk, then turn and press again from the right side, easing the corner out with a blunt point.
Tools that actually help
You can press seams with a basic household iron and an ironing board, and for most beginner projects that is all you need. A few extras become genuinely useful as you do more:
- A tailor's ham: Firm, football-shaped pressing cushion for curves. Worth buying if you sew garments regularly.
- A seam roll: A long, narrow roll (about the size of a rolling pin) for pressing sleeve seams without getting unwanted imprints on the fabric around them. You can improvise one with a tightly rolled magazine covered with fabric.
- A pressing cloth: A piece of plain muslin or cotton drill, about 12 x 18 inches (30 x 45 cm). Use it between the iron and anything you are not sure about.
- A point presser/clapper: A wooden tool with a pointed end for getting into tight corners and a flat end you press down on a seam right after the iron to "clap" the heat in as it cools. Very handy for sharp corners on collar points or waistband ends.
None of these are essential on day one. Learn the pressing technique first, then add tools as you run into the situations that need them.
For more on getting your seams right before you press them, see the guide on how to sew a straight seam with the right seam allowance. And once your seams are sewn and pressed, the next step is usually cleaning up the raw edges: how to finish raw edges so fabric doesn't fray covers your main options.
Frequently asked questions
Do I really have to press every seam?
For most garment projects, yes. You can skip pressing on quick practice pieces or very casual projects, but any time you want the finished item to look tidy and lie flat, pressing every seam as you go is the most efficient way to get there. Trying to press everything at the end is harder and less effective, because later seams sit on top of earlier ones and you cannot get the iron in properly.
My iron is leaving shiny marks on my fabric. What am I doing wrong?
Shine usually means the iron temperature is too high for the fabric, or you are pressing on the right side without a pressing cloth. Try turning the temperature down one notch and using a pressing cloth. On wool, even at the right temperature, pressing on the right side without a cloth can cause shine, so it is worth making the pressing cloth a habit.
Can I press seams with a clothes steamer instead of an iron?
A handheld steamer is great for refreshing finished garments but it does not apply the firm downward pressure that sets seams flat. For sewing construction, you want a real iron. A steam iron (one with a steam function built in) is ideal, but even a dry iron works fine if you dampen the fabric lightly with a water spray bottle first.
How do I know which direction to press the seam allowance if the pattern doesn't say?
Press toward the darker fabric when you can, to avoid show-through. Press toward the side that will have less bulk crossing over it in the next seam. And when two seams will cross each other, pressing them in opposite directions (one left, one right) lets you "nest" them so the bulk distributes evenly and the crossed point lies flat.
I pressed a fold into my fabric by accident. Can I get it out?
Usually yes. Press the area flat with steam and gentle pressure, working from the wrong side. On natural fibers like cotton and linen, a stubborn crease will usually come out with a slightly damp pressing cloth and firm pressure. On synthetics, be more careful: they can develop permanent creases if pressed at high heat. If the crease is on a synthetic and will not budge, try pressing from the right side with a cool iron and a damp pressing cloth, and accept that it may take a few tries.