How to Finish Raw Edges So Fabric Doesn't Fray
A raw edge is simply the cut edge of fabric before any treatment. Left alone, most woven fabrics will fray over time, especially once they go through the wash. The good news is that finishing a raw edge takes only a minute or two per seam, and you have several options depending on what machine you own and how much time you want to spend. This guide walks through the most common methods so you can pick the one that suits your project.
Why raw edges fray in the first place
Woven fabric is made of two sets of threads crossing each other at right angles. When you cut across those threads, the outermost ones have nothing holding them in place. Washing and wear pull them loose, and the seam allowance slowly unravels toward your stitching line. The goal of a seam finish is to lock those loose threads down before they become a problem.
Knit fabrics are different. Because they loop rather than weave, they curl but rarely fray. Loosely woven fabrics like linen and some tweed fray the fastest. Tightly woven quilting cotton frays more slowly. If you are unsure, snip a small corner of your fabric and drag your fingernail across it to see how readily the threads pull away.
The five most useful seam finishes for beginners
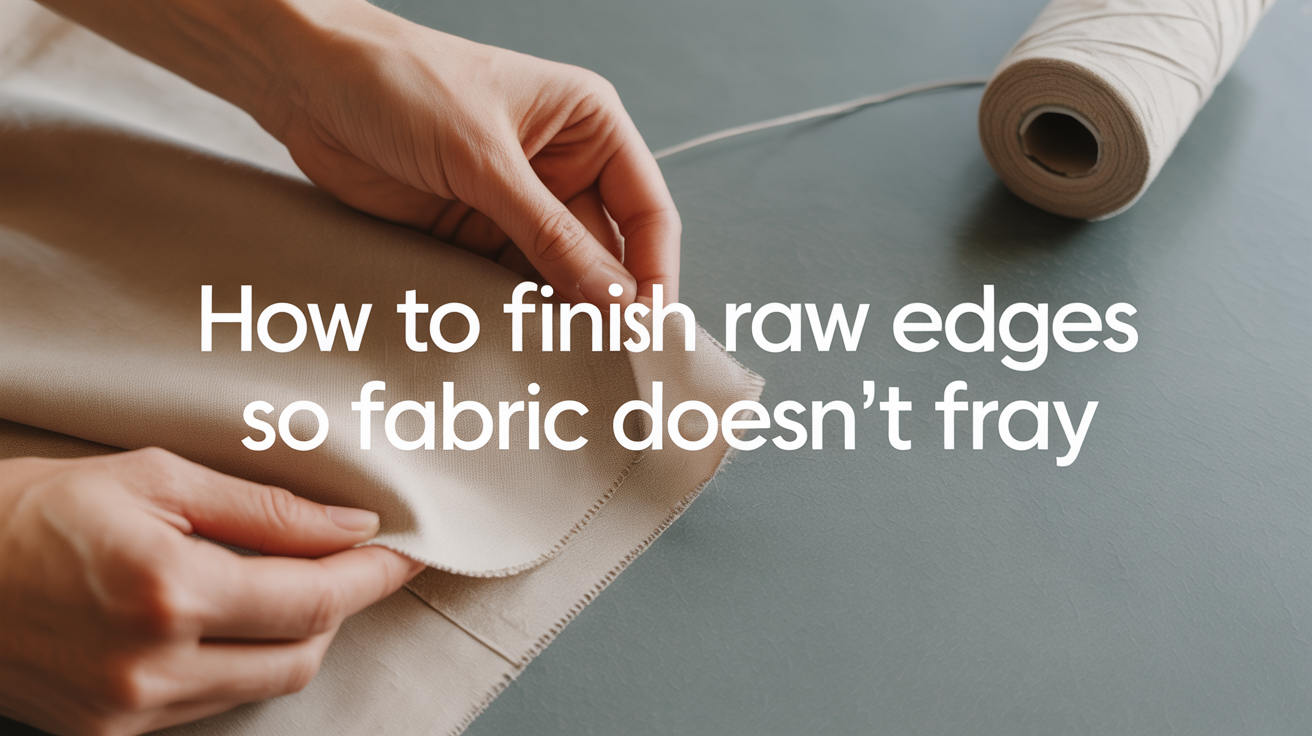
Zigzag stitch
This is the most accessible option because almost every sewing machine, even a basic model, has a zigzag stitch. Set your machine to a medium-width, medium-length zigzag (a width around 3.0 mm and a length of 2.5 mm is a safe starting point) and stitch along the raw edge with the edge just inside your presser foot. The stitch swings back and forth across the cut threads and stops them from pulling free.
Before you touch your project, test the setting on a scrap of the same fabric. On a loosely woven cloth, the fabric can tunnel or pucker if the stitch is too wide or too tight. Slightly narrowing the width or increasing the stitch length usually solves it.
Serged or overlocked edge
An overlocker (called a serger in North America) trims the seam allowance and wraps threads around the cut edge in one pass. The result is the clean, professional-looking edge you see on store-bought clothes. If you have access to an overlocker, this is the fastest and tidiest method available. Thread tension takes some practice to dial in, so run a few inches on scrap before starting any project.
If you do not own an overlocker, do not worry. The zigzag stitch and the other methods below do the same job well enough for most home-sewing projects.
Pinking shears
Pinking shears cut a zigzag rather than a straight line. That angled cut leaves the threads at the edge at different lengths, which slows fraying considerably, though it does not stop it completely. Pinking works well for lightweight quilting cotton, calico, and similar tightly woven fabrics where fray is minimal anyway. It is less reliable on loose weaves or fabrics that will be washed frequently.
The main advantage is speed: no machine needed, no setup. The main limitation is that the blades dull over time and should only be used on fabric, never on paper, to keep them sharp.
French seam
A French seam is not just a seam finish; it is an alternative construction method that encloses both raw edges inside the seam itself. You stitch the seam wrong sides together first (at about 6 mm, or 1/4 inch), trim the allowance to about 3 mm (1/8 inch), press, fold right sides together, and stitch again at 1 cm (3/8 inch). The first seam allowance is now hidden inside.
French seams look beautiful on lightweight fabrics like cotton lawn, silk, and voile. They are not suitable for curved seams or thick fabrics. When sewing a simple blouse or pillowcase in a delicate fabric, a French seam gives a really tidy interior without any extra equipment.
Turned-and-stitched edge
This works on straight edges or gentle curves. Fold the raw edge under by about 6 mm (1/4 inch) and stitch close to the fold. It takes a little more time because you are folding as you go, but it produces a very clean finish and needs no special tools. It is common on facing edges, around necklines, and for lightweight curtains. A thin bead of fabric glue or heat-activated hem tape can hold the fold in place while you stitch if you find the fabric slipping.
Choosing the right finish for your project
Not every finish suits every fabric or situation. This table gives a quick guide.
| Finish | Best for | Avoid when |
|---|---|---|
| Zigzag stitch | Most woven fabrics, quick projects | Very loosely woven fabrics that tunnel |
| Overlocker | Any fabric, especially garments | You do not own the machine |
| Pinking shears | Tightly woven cotton, calico | Loose weaves, heavy washing |
| French seam | Lightweight sheers, cotton lawn | Thick or stretchy fabrics, curved seams |
| Turned and stitched | Straight or gently curved edges | Very thick or bulky fabrics |
Once you understand how to sew a straight seam with the right seam allowance, adding a finish to that seam becomes a quick extra step at the end rather than a separate project.
How pressing helps your finish hold
Pressing after you finish a raw edge is worth the two minutes it takes. Heat and steam set the threads in place and flatten the edge so it lies smoothly inside the garment. A bulky or lumpy seam finish often flattens right out with a good press.
Work on the wrong side of the fabric, and always test the iron temperature on a scrap first. Synthetic fabrics can melt at high heat, and velvet can crush. For most quilting cotton and calico, a medium-hot iron with steam works well. If you want to understand exactly when to press open versus press to one side, the guide on how to press seams the right way and why it matters covers the logic in full.
Common mistakes beginners make and how to fix them
- Stitching too close to the actual edge. Leave a little fabric beyond your zigzag or overlocker stitch so the edge is fully enclosed, not just barely caught.
- Using the wrong stitch length. A stitch that is too short puckers lightweight fabric. Lengthen it slightly and test again.
- Forgetting to finish before assembly. It is much easier to finish a long, flat seam allowance than to try to reach inside a nearly-finished sleeve. Finish each piece before sewing it to the next where you can.
- Skipping the finish on stable fabrics. Even tightly woven cotton will fray after several washes. It takes less than a minute; do it anyway.
- Forcing the fabric through the machine. Feed it steadily, let the machine do the pulling. Pushing creates uneven stitching and can damage the feed dogs.
Frequently asked questions
Do I need an overlocker to get professional results?
No. A zigzag stitch does the same fundamental job and is available on almost every home machine. An overlocker is faster and gives a very tidy finish, but it is not necessary for a well-made garment. Many experienced home sewers never buy one.
Can I use fabric glue instead of stitching to stop fraying?
A small amount of fray-stop liquid or fabric glue along the cut edge works for quick repairs and craft projects. It is not a good substitute for a proper stitched finish on a garment because it can wash out or stiffen the fabric. Use it for emergencies or on items that will not be laundered.
How do I finish curved seam allowances, like on an armhole?
A zigzag stitch handles curves well. Just guide the fabric slowly and let the stitch travel around the curve without pulling. An overlocker also handles curves, but you need to reduce speed and steer carefully. Pinking shears and French seams are generally not suited to tight curves.
My zigzag stitch is puckering the fabric. What do I adjust?
Lower the presser-foot pressure slightly if your machine allows it, increase the stitch length a little, and check that you are not pulling the fabric from behind. Also make sure you are using the right needle for the fabric weight: a fine needle (size 70/10 or 75/11) for lightweight fabric, a heavier needle (90/14) for denim or canvas.
What edge finish should I use for a beginner hem?
For a hem on quilting cotton or medium-weight fabric, a turned-and-stitched edge or a zigzag along the raw edge before folding up the hem are both straightforward options. If you want a step-by-step walkthrough, the post on how to hem pants by machine step by step covers the process from measuring to final press.