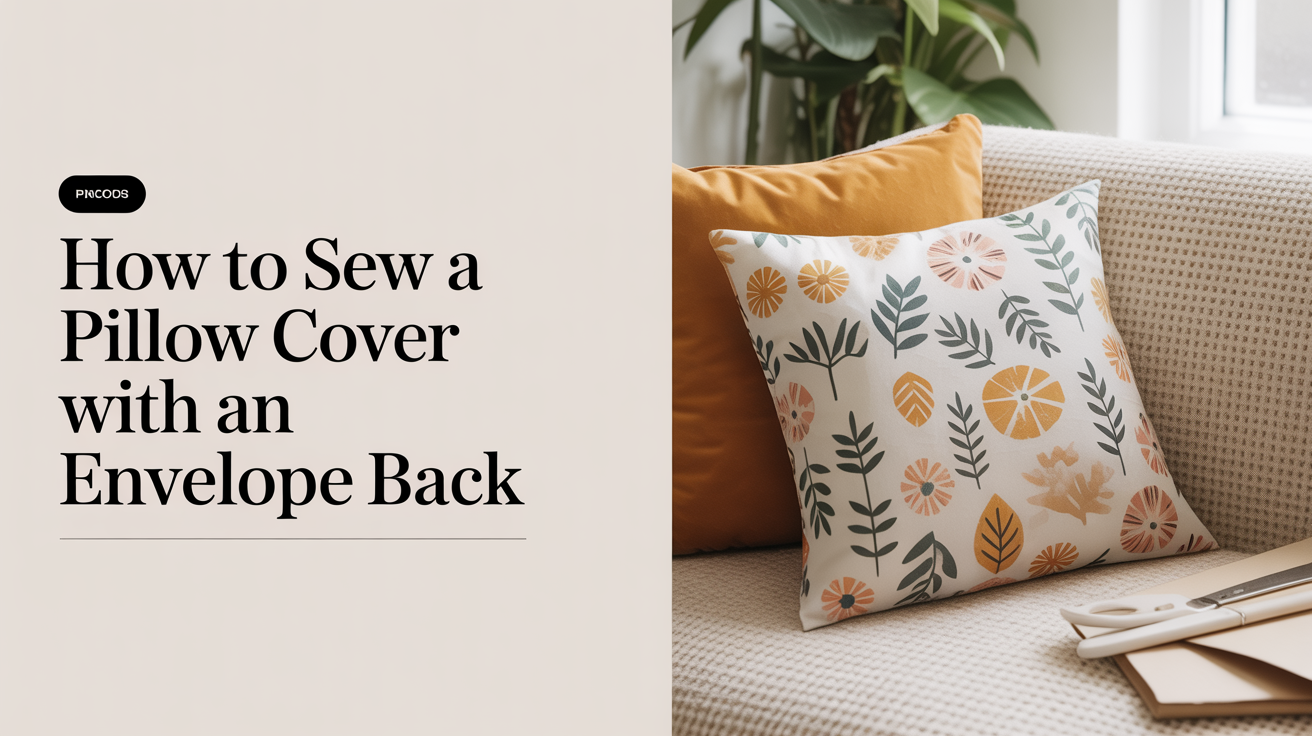
How to Sew a Pillow Cover with an Envelope Back
A pillow cover with an envelope back is one of the best first sewing projects you can tackle. There is no zipper, no buttonholes, and no invisible seam to fuss over. The back overlaps itself like a hotel pillowcase, and the whole thing comes together in an afternoon. If you can sew a straight line, you can make this.
This guide covers a 18 x 18 inch (46 x 46 cm) cover, which fits a standard square cushion insert. All the measurements scale up or down if your insert is a different size.
What you need before you start
You do not need much for this project, which is part of why it works so well for beginners.
Fabric: About half a yard (45 cm) of quilting cotton, linen, or medium-weight cotton canvas. Quilting cotton is easiest to handle because it is not slippery and it presses crisply with an iron. Avoid stretch fabrics for your first attempt.
Tools and notions:
- Sewing machine (any basic model that does a straight stitch)
- Iron and ironing board
- Pins or fabric clips
- Fabric scissors or a rotary cutter and cutting mat
- Ruler or measuring tape
- Fabric marker or chalk
- Thread in a color that matches your fabric
Keep scissors away from children and be careful with pins on your work surface. A pincushion or small dish will keep loose pins from ending up on the floor.
How to cut your fabric pieces
For an 18 x 18 inch (46 x 46 cm) pillow insert, you need three rectangles:
| Piece | Cut size (inches) | Cut size (cm) | Quantity |
|---|---|---|---|
| Front panel | 19 x 19 in | 48.5 x 48.5 cm | 1 |
| Back panel (short side) | 19 x 13 in | 48.5 x 33 cm | 1 |
| Back panel (long side) | 19 x 15 in | 48.5 x 38 cm | 1 |
The front panel is 1 inch (2.5 cm) larger on each side to account for your seam allowance. The two back panels overlap each other by a few inches in the middle, which is what creates the envelope opening. The "short" and "long" labels just describe their height; they are the same width.
Before cutting, press your fabric flat with a warm iron so your measurements are accurate. Always cut on the straight grain, meaning along the weave of the fabric rather than at an angle, or your finished cover may twist and look off.
How to finish the edges of the back panels
This step stops the overlapping edges from fraying over time when you pull the cover on and off.
Fold the inner edge of each back panel (the edge that will sit in the middle, not around the outside) over by about 1/2 inch (1.25 cm), then fold again by the same amount. This is called a double-fold hem, and it buries the raw edge completely.
Pin or clip the fold in place. Press with a hot iron to set the crease, because a pressed hem is so much easier to sew than a floppy one. Stitch close to the inner folded edge, about 1/8 inch (3 mm) from it. Backstitch at the beginning and end of each line to lock your stitching.
Repeat for both back panels. Test your machine's heat setting on a scrap of the same fabric first, especially if you are using linen or a fabric you have not pressed before.
Assembling the pillow cover
Now you put the three pieces together. The sequence matters here.
Lay your front panel right-side up on a flat surface. Place the larger back panel on top of it, right-side down, aligning the raw edges on three sides. The hemmed edge sits somewhere across the middle of the front panel. Then place the smaller back panel on top of everything, also right-side down, with its raw edges aligned on the remaining three sides and its hemmed edge overlapping the first back panel.
The two back panels should overlap each other by about 3 to 4 inches (7.5 to 10 cm) in the middle. This overlap is what holds the cushion insert in place.
Pin or clip all the way around the outside edge, through all layers. If the corners feel bulky, that is fine. Take a moment to check that your raw edges are lined up neatly before sewing, because gaps at the corners are the most common beginner mistake here.
Sew around all four sides using a 1/2 inch (1.25 cm) seam allowance. Backstitch at the start and end. Sew slowly through the corners rather than pivoting too sharply, and keep your eye on the seam allowance line rather than the needle itself.
If you have a simple tote bag tutorial under your belt already, this corner technique will feel familiar.
Finishing the corners and turning the cover right-side out
Before turning the cover, trim each corner at a 45-degree angle. Cut about 1/4 inch (6 mm) from the stitching, not through it. This removes the bulk so your corners lie flat once turned.
Now reach through the envelope opening on the back and grab the front panel. Pull it through gently, working your way around all four sides. Use a blunt object like a chopstick or a closed pen to push the corners out from the inside. Do not use scissors or anything sharp or you risk poking through the fabric.
Press the finished cover with a warm iron, paying extra attention to the corners. The cover should be flat and square. Slide in your cushion insert through the envelope opening.
If the insert feels loose, your back panels may not overlap enough. This is easy to fix: just take the cover apart, re-cut the back panels 2 inches (5 cm) taller, re-hem, and reassemble. It takes maybe 15 minutes and is completely recoverable.
This same envelope-back method works for rectangular lumbar cushions and for larger floor cushions. Once you are comfortable with the basic shape, you can move on to projects like a drawstring bag or a tote bag to build the same straight-seam confidence.
Tips for getting a better result
A few small things make a noticeable difference in how the finished cover looks.
- Press every seam and every hem before you sew it. An iron does more for clean seams than almost any other technique.
- Sew with the grain of the fabric, not against it. If your stitching puckers, try sewing in the opposite direction.
- Use a new needle for every project. A fresh needle glides through fabric cleanly; a dull one drags and can cause skipped stitches.
- Match your thread weight to your fabric. Regular all-purpose polyester thread works for quilting cotton and most medium fabrics.
- If your corners are coming out lumpy after turning, trim a little more from the seam allowance and try again on a scrap piece first.
- Wash your fabric before cutting if the cover will need washing later. Cotton shrinks, and a cover that fits perfectly before washing can end up too small afterward.
For more ideas at a similar skill level, easy sewing projects for absolute beginners has a range of options that use the same basic straight-stitch technique.
Frequently asked questions
Can I make this with a single piece of fabric folded over instead of three separate pieces?
You can fold a single long piece to create the front and both back panels from one cut, but it usually wastes more fabric than cutting separately and makes the grain alignment harder to manage. The three-piece method is simpler for beginners even though it sounds like more cutting.
What is the right amount of overlap for the back panels?
Aim for 3 to 4 inches (7.5 to 10 cm) of overlap. Less than 3 inches and the cushion insert may push through the opening. More than 4 or 5 inches is fine too; it just means the opening is a bit stiffer to use.
My seam allowance is off and the cover came out slightly smaller than my insert. What do I do?
Cushion inserts are meant to be stuffed in snugly, so a cover that is 1/2 inch (1.25 cm) smaller than the insert is actually intentional. If it is much smaller than that, or if the fabric is pulling and the corners are bunching, you can take in the seams slightly less next time. Do not use a smaller seam allowance without testing first.
Do I need to press after every step, or can I skip the ironing?
Pressing each step is not strictly required, but the finished cover will look noticeably neater if you do. A hem that has been pressed before sewing stays in place and feeds through the machine evenly. An unpressed hem tends to fold over itself and create uneven stitching. If you are going to skip pressing anywhere, the seam allowances after assembly are the least critical step.
Can I use patterned fabric?
Yes, and it looks great. The one extra step is matching any large repeat across the seam if your fabric has a prominent stripe or large motif. For a first try, a small allover print or a solid color is easier because you do not have to worry about alignment.