How to Sew Cloth Napkins and Placemats
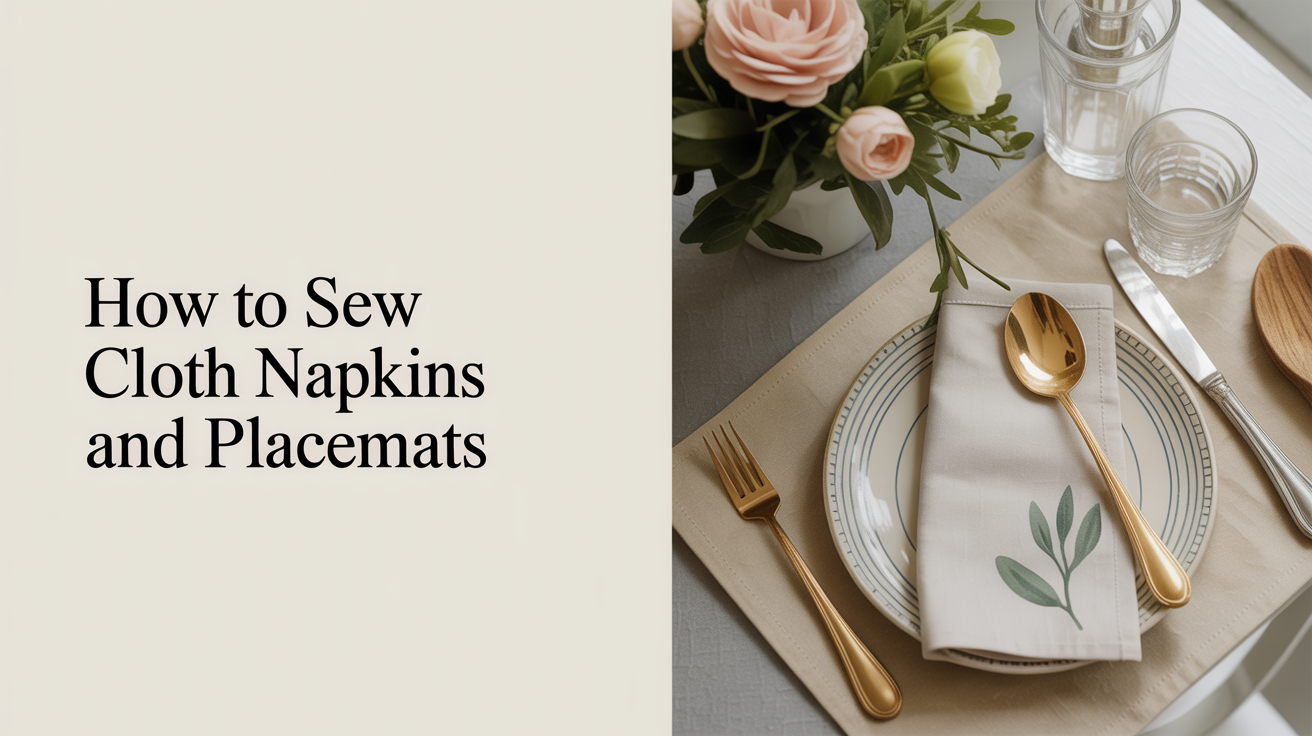
Cloth napkins and placemats are one of the best first home-sewing projects you can make. Each piece is a simple flat rectangle, so you practice measuring, cutting straight, pressing seams, and finishing edges without juggling curves or complicated pattern pieces. You end up with something genuinely useful at the dinner table, and you build skills that carry into every project after this one.
This guide walks through both napkins and placemats using the mitered-corner method, which gives you clean folded corners that look intentional rather than bunched.
What You Need
Fabric
For napkins, 100% cotton works well: quilting cotton, muslin, or a medium-weight woven. Avoid slippery or very stretchy fabrics at this stage. You want something that holds a pressed crease.
For placemats, a slightly heavier cotton such as canvas, denim, or cotton twill holds up better under dishes. You can also use two layers of quilting cotton with a layer of batting between them for a padded placemat, though the single-layer version is a cleaner place to start.
Quantities (per piece)
- Cloth napkin: one 18-inch square of fabric (yields a finished ~17-inch napkin after hems)
- Placemat: one rectangle cut to 14 x 20 inches (yields a finished ~13 x 19-inch placemat)
Scale up based on how many pieces you want to make. A standard fabric width of 44 inches lets you cut two napkin squares side by side with minimal waste.
Other supplies
- Matching thread (cotton thread for cotton fabric)
- Pins or clips
- Iron and ironing board
- Ruler and fabric marker or chalk
- Scissors or rotary cutter and cutting mat
Always test your iron temperature on a scrap of the same fabric before pressing your actual pieces.
Cutting and Pressing the Fabric
Pre-wash and dry your fabric before cutting. Cotton fabric shrinks, and you want that to happen before you sew rather than after. Press it flat once dry.
Use a ruler and fabric marker to draw your cut lines. Cut as straight as you can; even a slightly crooked cut becomes a visible slanted edge in the finished piece. A rotary cutter and cutting mat make this faster, but scissors work fine if you keep your scissors flat against the cutting surface and take your time.
Once cut, press a crease along each edge:
- Fold each raw edge toward the wrong side of the fabric by 1/2 inch and press flat.
- Fold again by another 1/2 inch (so the raw edge is now completely enclosed) and press again.
This double-fold hem is what you will sew. The pressing is what holds it in place while you work, so take time to get it flat and even.
Mitered Corners
Mitered corners give your napkins and placemats that finished, tailored look rather than a bulky folded lump at each corner. The technique sounds complicated but involves two small diagonal folds.
How to miter a corner:
- Unfold the pressed edges at one corner.
- Fold the very tip of the corner diagonally inward so the point meets the spot where your two fold lines cross. Press that tiny triangle flat.
- Refold your double-fold hems on both edges leading into that corner. The diagonal fold tucks under and the corner comes out flat and pointed.
- Pin or clip to hold, then repeat on all four corners.
If your corner looks bulky, you trimmed too little of the diagonal; if it has a gap, you folded too far. Practice on a scrap piece first. Once you have one corner right, the others go faster.
Sewing the Hem
Set your machine to a straight stitch, roughly 2.5 mm length. A medium-length stitch works for most woven cottons.
Start sewing along one edge close to the inner folded edge, called an edgestitch. Many sewers aim for 1/8 inch from the fold. Keep the fabric moving at a steady pace and watch the folded edge rather than the needle.
When you reach a corner, stop with the needle down, lift the presser foot, pivot the fabric 90 degrees, lower the foot, and continue along the next edge. This keeps your stitching continuous and avoids stopping and restarting threads at each corner.
Backstitch at the very beginning and end of your stitching line to lock the thread. Then trim the thread tails close to the fabric.
Press the finished piece again from the right side. This final press smooths out any slight puckers and makes the edges lie flat.
Placemats: Same Method, Optional Padding
Everything above applies to placemats. The only difference is the starting size of your rectangle.
If you want a padded placemat, cut two rectangles at 14 x 20 inches and one piece of cotton batting slightly smaller, around 13 x 19 inches. Layer the two fabric pieces wrong sides together with the batting sandwiched between them, then baste around the outside edges to hold them together before folding and pressing your hems. Stitch as described above, stitching through all layers. The result is noticeably thicker and quieter under dishes.
A set of four matching placemats is a satisfying afternoon project. If you cut all your rectangles first, then press all the hems in a batch, then sew them in sequence, the repetition makes each one go faster.
Tips for a Cleaner Finish
- Press at every stage. Sewing on a pressed fold is much easier than trying to stitch a fold you only pinned.
- Cut accurately. A crooked starting rectangle becomes a crooked finished piece.
- Reduce bulk at corners. If corners feel thick, you can trim a tiny triangle off the fabric tip before mitering, but keep at least 1/4 inch from your eventual fold lines.
- Use matching or tonal thread. Subtle thread color differences become obvious on a flat surface like a napkin.
- Wash before gifting or using. A second wash after sewing fully softens the hem folds and the fabric.
If you enjoy this format, sewing a simple tote bag uses the same straight-stitch skills with one added step. A pillow cover with an envelope back is another flat-panel project that introduces a simple overlap closure. And for a full list of projects at this skill level, see easy sewing projects for absolute beginners.
Frequently Asked Questions
What fabric is best for beginner cloth napkins?
Medium-weight 100% cotton is the most forgiving choice. It presses crisply, feeds through a machine evenly, and washes well. Quilting cotton or plain muslin are both easy to find and inexpensive enough to practice on. Avoid lightweight voile or heavyweight canvas for your first attempt.
How do I keep the hem from bunching at the corners?
Bunching usually means the corner has too much layered fabric. Mitering removes that excess by folding the tip diagonally before refolding the hem. If mitering still leaves bulk, try trimming a small triangle off the raw corner tip before you miter, staying about 1/4 inch away from where your final fold lines will land.
Do cloth napkins need to be washed before sewing?
Yes. Cotton shrinks when washed for the first time, often by a few percent. If you sew before pre-washing, your finished napkin may pucker or distort the first time it goes through the laundry. Pre-wash in the same temperature water you plan to use going forward, then dry and press before cutting.
Can I sew napkins without a sewing machine?
You can hand-sew napkins using a running stitch or slip stitch along the hem. It takes more time but is completely achievable. Keep your stitches small and even, and use a thimble to protect your finger when pushing the needle through multiple layers at the corners.
What size should cloth napkins be?
Dinner napkins are typically 17 to 18 inches square when finished. Cocktail or luncheon napkins are smaller, around 12 to 14 inches square. A standard cut of 18 inches yields a finished napkin of about 17 inches after the double-fold hem. Adjust your starting cut size based on how large you want the finished piece to be.