How to Choose the Right Stitch Length and Stitch Type
The dial or digital display on your sewing machine that controls stitch length is one of the most useful settings you have. Get it right and seams lie flat, stretch without popping, and hold through washing. Get it wrong and you end up with puckered fabric, weak joins, or thread jams that take five minutes to unpick.
This guide walks through how stitch length works, which stitch types you are likely to use as a beginner, and what settings to dial in for common situations. Always test on a scrap piece of the same fabric before sewing your actual project.
What Stitch Length Actually Means
Stitch length is measured in millimeters and refers to how far the fabric advances between each needle penetration. A stitch length of 2.5 mm means each stitch is 2.5 mm long. A stitch length of 4 mm means the same thread covers more ground per stitch.
Most machines let you set stitch length anywhere from about 0.5 mm to 5 mm or 6 mm. The default on many machines is 2.5 mm, which is a good all-purpose starting point for medium-weight woven fabrics.
Shorter stitches:
- Create a stronger seam with more thread per inch
- Are harder to unpick if you make a mistake
- Can pucker lightweight fabric if set too short
Longer stitches:
- Move faster and are easier to remove (useful for basting)
- Are better for thick or layered fabrics where short stitches would make the seam rigid
- Can look loose or weak on lightweight fabric if set too long
Straight Stitch Settings by Fabric Type
The straight stitch is the foundation of most sewing. Once you are comfortable with it, adjusting the length for different fabrics becomes second nature. Use these as starting points and adjust based on how your test seam looks.
| Fabric Type | Suggested Stitch Length |
|---|---|
| Lightweight (chiffon, voile, silk) | 1.5–2 mm |
| Medium-weight woven (cotton, linen, quilting fabric) | 2.5 mm |
| Medium-weight knit (jersey, interlock) | 2.5–3 mm (or use zigzag) |
| Denim, canvas, upholstery fabric | 3–3.5 mm |
| Basting / temporary seams | 4–5 mm |
| Topstitching for visible seams | 3–3.5 mm |
For topstitching, a longer stitch length looks crisper and more deliberate. For a seam that has to hold under stress (such as the crotch seam of trousers or the armhole of a bag), keep the length at 2.5 mm or slightly shorter.
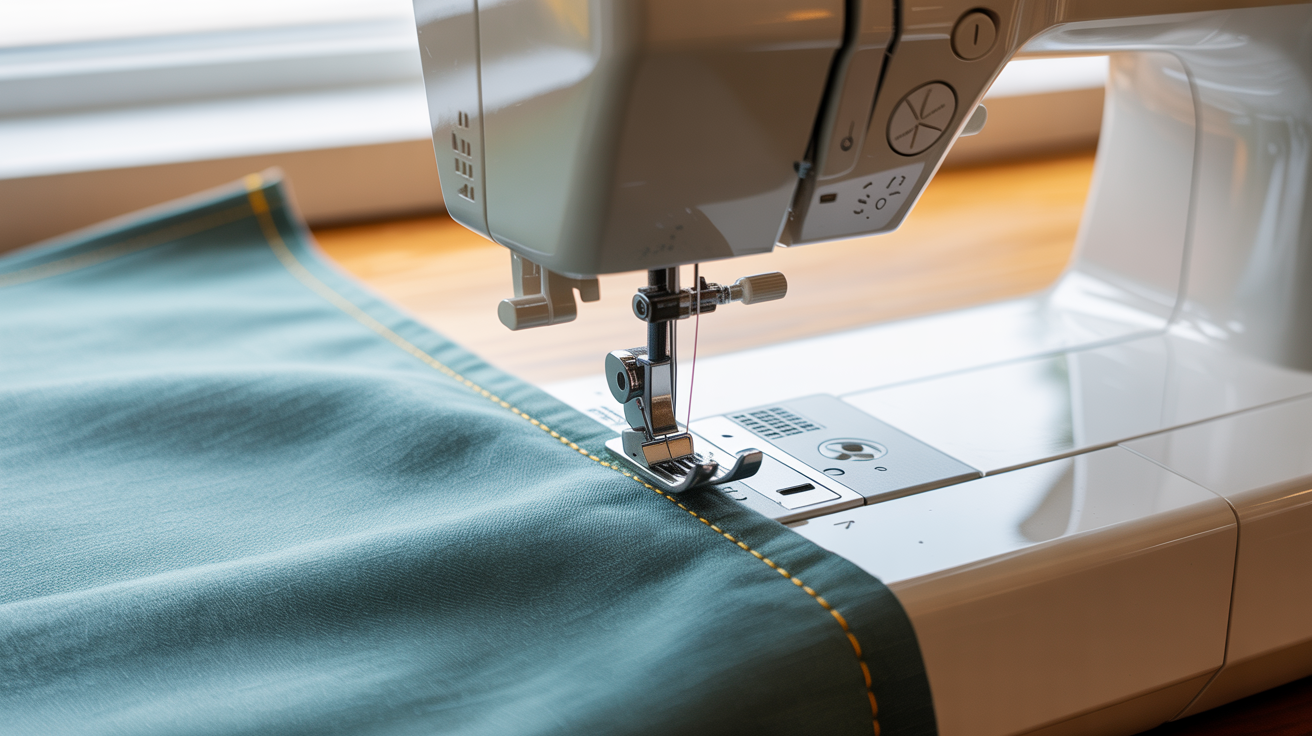
If you can see the full settings picture on your machine, the stitch length control is usually labeled with a number scale or a set of icons showing short and long stitches.
Common Stitch Types and When to Use Them
Most beginner machines come with more stitch options than you will ever need. Here are the ones worth learning first.
Straight Stitch
This is the default for almost everything: constructing seams, sewing zippers, attaching patches, quilting. The needle goes straight up and down, and the feed dogs move the fabric forward in a straight line.
For most projects, you will spend the majority of your time on this stitch. If your machine has a straight stitch position that moves the needle to the center or far left, the center position gives you the most control.
Zigzag Stitch
The zigzag moves the needle side to side as it sews, creating a row of V-shapes. It has two key uses:
Finishing raw edges. Running a zigzag along the cut edge of fabric stops it from fraying. This is useful on fabrics that fray easily, like linen or loosely woven cotton.
Sewing stretch fabric. When you sew a straight stitch on knit fabric, the thread breaks the first time the seam is pulled because thread does not stretch. A zigzag (or a narrow zigzag at around 1.5 mm width and 2.5 mm length) can stretch with the fabric.
A wider zigzag (3–4 mm wide) is better for edge finishing. A narrower one (1–1.5 mm wide) is better for joining stretch seams.
Buttonhole Stitch
Most machines include an automatic or semi-automatic buttonhole function. It sews a tightly spaced zigzag around a rectangular opening that you then cut open. Your machine manual will walk you through the steps since the process varies by model, but the key point is that stitch length is essentially set for you. All you have to do is mark the button placement accurately and let the machine do the rest.
Basting Stitch
Basting is not a separate stitch type. It is just a long straight stitch (4–5 mm) that you use as a temporary hold. You baste fabric pieces together before fitting a garment, or to hold a zipper in place before sewing it permanently. Because the stitches are long, they pull out easily with a seam ripper.
How to Tell If Your Stitch Length Is Wrong
Your test seam on scrap fabric will tell you quickly if the setting needs adjusting.
Puckering along the seam line usually means the stitch length is too short for the fabric, or the tension is set too high, or both. Try lengthening the stitch by 0.5 mm increments.
Loose, loopy stitches on the underside typically signal a tension problem rather than a stitch length problem. Check that the machine is correctly threaded through every thread guide and that the bobbin is seated properly in its case.
Skipped stitches on knit fabric often mean you need a ballpoint needle and a slightly longer stitch or a zigzag. A standard sharp needle can push knit fibers aside rather than piercing cleanly between them.
The seam stretches open when pulled on knit fabric means the stitch type is wrong. Switch to a zigzag or a stretch stitch if your machine has one.
A Practical Starting Routine
Before you sew any new project, take two minutes to run through this:
- Cut a scrap of the actual fabric you are using.
- Set the stitch length to 2.5 mm and the stitch type to straight.
- Sew a short seam across the bias (the diagonal of the fabric) and one with the grain.
- Pull the seam gently. If it puckers, go slightly longer. If it stretches and breaks, switch to a zigzag.
- Check the underside of the seam. Stitches should look the same on both sides.
Once your test looks clean, you are ready to sew.
Frequently Asked Questions
What stitch length is best for cotton quilting fabric?
A length of 2.5 mm works well for most quilting cotton. Some quilters prefer 2 mm for a slightly stronger seam that holds through repeated washing. If you are sewing through multiple layers (a quilt sandwich, for example), try 3 mm so the stitch does not pull the layers together too tightly.
Can I use a straight stitch on jersey or stretchy fabric?
Technically yes, but a straight stitch will pop when the seam is stretched because the thread has no give. For knit fabrics, a narrow zigzag (1.5 mm wide, 2.5 mm long) is the reliable beginner approach. Some machines also have a lightning bolt or stretch stitch that is designed for this.
What does the stitch length look like if my bobbin tension is off?
If the bobbin is incorrectly wound or not seated correctly, you may see loops on the underside of your fabric, or the top thread may pull visibly through to the back. This is almost always a threading or bobbin issue, not a stitch length issue. Re-thread the machine from scratch and reseat the bobbin, then test again.
How long should basting stitches be?
Set your stitch length to 4 or 5 mm for basting. The goal is a stitch that holds the fabric in place temporarily but pulls out easily. Some sewers also reduce the upper thread tension slightly to make basting even easier to remove.
My machine only shows icons for stitch length, not numbers. What do they mean?
Icon-only controls typically show a short dash and a long dash (or small and large stitch marks). The short-dash end is shorter stitch length; the long-dash end is longer. Start in the middle, which usually corresponds to roughly 2.5 mm, and adjust from there based on your test seam.