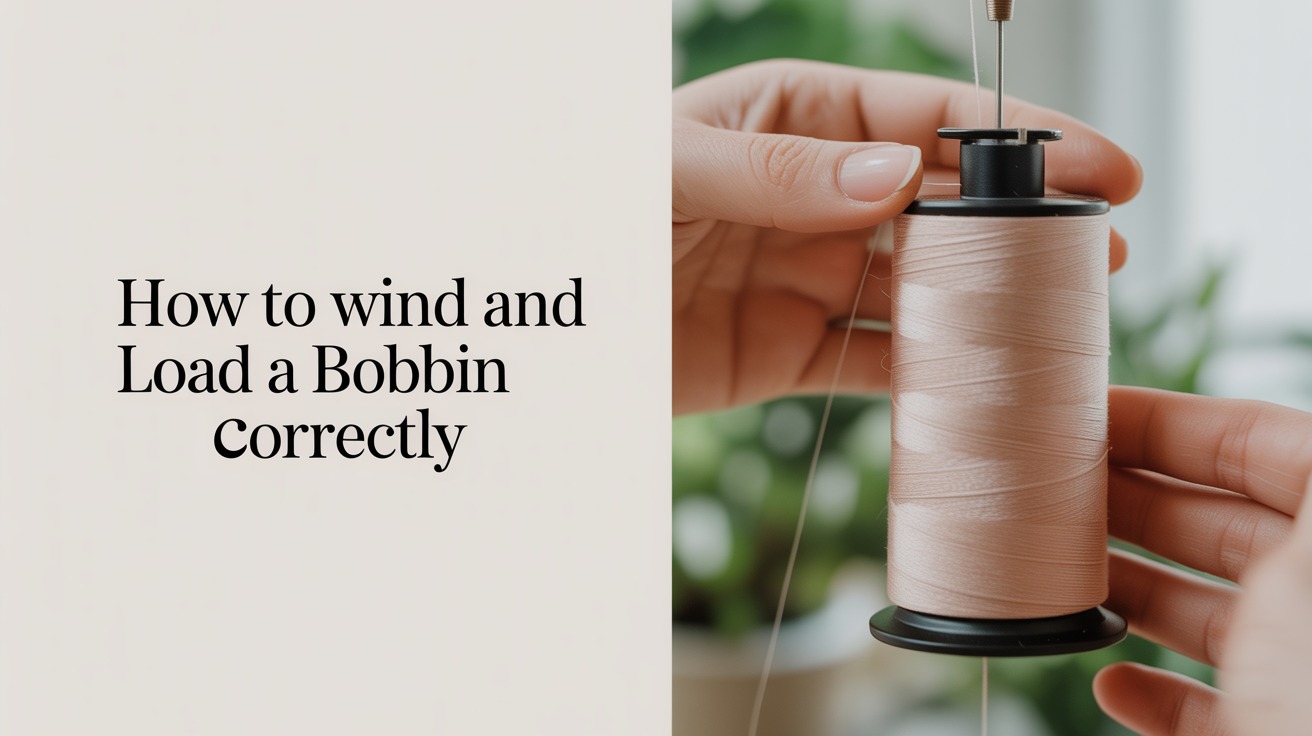
How to Wind and Load a Bobbin Correctly
The bobbin is that small spool that sits beneath your sewing machine's needle plate and feeds the lower thread. Without a properly wound and loaded bobbin, you will get skipped stitches, tangled thread, or that maddening bird's-nest knot on the underside of your fabric. The good news is that once you do this a few times, it takes less than two minutes and becomes completely automatic.
This guide walks you through the whole process from an empty bobbin to a first stitch. If you are brand new to the machine itself, it helps to read how to use a sewing machine first, but you can also jump straight in here.
What you need before you start
Gather these things before you sit down at the machine:
- An empty bobbin (the small flat spool that came with your machine, or a spare of the correct size and type)
- Your thread spool
- Your sewing machine manual, if you have it
One thing worth saying upfront: bobbins are not universal. A bobbin that fits a Singer Heavy Duty will not fit a Brother CS6000i, even though they look similar. Using the wrong bobbin causes tension problems and can jam the machine. Check the manual or the sticker inside the bobbin compartment if you are unsure. Most home machines use a Class 15 (also called SA156) or a bobbin labeled for their specific brand, so use a spare from the same brand when possible.
How to wind a bobbin
Setting up the thread spool
Place your thread spool on the spool pin at the top of the machine. Some spool pins are horizontal, some are vertical. If your machine came with a felt pad or a spool cap, put it on after the thread so the spool does not wobble and unwind unevenly.
Pull the thread off the spool and follow the bobbin-winding thread path. This path is different from the regular needle-threading path. On most machines it goes:
- Left or forward from the spool, through a thread guide notch near the top of the machine
- Around a small rubber or metal bobbin-winding tension disk (it looks like a tiny wheel or peg)
- Through or around the hole in the top of the empty bobbin
The thread guide and tension disk are what make the wound bobbin come out even and firm. Skipping the tension disk is the most common winding mistake and produces a loose, uneven bobbin that tangles.
Winding the thread onto the bobbin
Slip the bobbin onto the bobbin-winding spindle (usually a small pin on the top right of the machine). Slide or press it to the right until it clicks into the winding position.
Hold the loose thread end with your left hand, pointing away from the bobbin. Start the machine at slow speed. After four or five wraps, snip the loose thread tail close to the bobbin so it does not catch. Then let the machine run at medium speed.
Watch the thread build up. A well-wound bobbin looks like a neat, flat cylinder with smooth edges and no gaps. If the thread is piling up at one end or looks loose and loopy, stop: the thread likely jumped out of the tension disk. Unwind back to bare and start again.
When the bobbin is full (or as full as you want it), stop the machine and slide the bobbin spindle back to the left. It disengages from the winding mechanism, which means the needle will start moving again once you press the pedal. Cut the thread, leaving a small tail.
A general guide to how much thread you need per project:
| Project | Approximate bobbin fills |
|---|---|
| Single seam, scrap practice | Less than 1 |
| Simple tote bag | 1-2 |
| Pillowcase | 2-3 |
| Basic skirt or shirt | 4-6 |
| Full dress or trousers | 6-10 |
These are rough numbers. Thread weight, fabric, and stitch length all affect usage. When in doubt, wind two bobbins before a project starts so you are not stopping at a critical seam.
How to load the bobbin into your machine
Almost all home machines today use one of two bobbin systems: a front-loading vertical bobbin or a top-loading drop-in bobbin. Check which type you have before you read on.
Front-loading (vertical) bobbins
On front-loading machines, there is a small door or panel on the front face of the machine, usually at the base. Open it, and you will see a metal bobbin case inside. Remove the bobbin case by gripping its small latch and pulling.
Drop your wound bobbin into the bobbin case so the thread unwinds in the direction shown on the case (usually an arrow or diagram). Most front-loading cases want the thread to come off the bobbin counterclockwise when you look at it from the front.
Pull the thread through the slot on the side of the case until it snaps into the tension spring. Give it a gentle tug: you should feel a little resistance, not the thread slipping freely. That resistance means the thread is seated in the tension spring correctly.
Slide the bobbin case back into the machine and click it in. Pull the thread tail out through the needle hole in the throat plate, or follow your machine's guide for pulling up the bobbin thread.
Top-loading (drop-in) bobbins
Drop-in bobbins are more common in modern home machines and are a bit more forgiving. Open the bobbin compartment cover (the clear plastic panel on the flat bed of the machine, just in front of the needle). Lift or slide it off.
Drop the wound bobbin into the compartment. Most drop-in machines want the thread to unwind counterclockwise, and there is almost always a diagram printed inside the compartment or on the cover. Follow it: getting this direction wrong is the number-one cause of tension problems in drop-in machines.
Pull the thread into the slot at the front of the compartment, following the channel around and under a small hook or guide. When you feel a click or slight resistance, the thread is seated. Leave a 4-5 inch (10-12 cm) tail hanging free.
Replace the cover, lower the needle using the handwheel, then raise it again. As it comes up it should pull a loop of bobbin thread up through the needle plate. Hook that loop with a seam ripper or your finger and pull it out, so both needle thread and bobbin thread lie under the presser foot and point toward the back of the machine.
For more detail on threading the upper part of the machine so both threads come together correctly, see how to thread a sewing machine step by step.
Checking that the bobbin is working correctly
Do a quick test stitch on a folded scrap of fabric before you start your actual project. Look at both sides.
- Top surface looks good, bottom has loops: the bobbin thread is too loose, or the upper tension is too tight.
- Bottom surface looks good, top has loops: the upper tension is too loose, or the bobbin is not seated properly.
- Stitches look balanced on both sides: you are ready to sew.
If the stitches are uneven, the most common fix is reseating the bobbin. Take it out, re-thread it following the tension channel carefully, and test again. Most "tension" problems in beginners' machines are actually a bobbin that is not threaded through its little spring correctly. A deeper look at tension settings is covered in sewing machine tension explained and how to fix it.
Common bobbin mistakes and how to fix them
- Thread wound too loosely: The thread slipped out of the tension disk during winding. Unwind and start again, making sure the thread clicks into the disk.
- Bobbin running out mid-seam: Wind two bobbins per project. Keep wound spares for your most-used thread colors.
- Thread tangled underneath the fabric: The bobbin is loaded the wrong direction (clockwise when it should be counterclockwise), or the thread tail was not pulled out before you started sewing. Re-load the bobbin and pull both thread tails toward the back of the machine before stitching.
- Machine making a grinding or skipping sound: The bobbin may be the wrong type for the machine. Check the manual.
- Thread keeps breaking: The thread end is too short, the thread is not through the tension spring on the bobbin case, or the needle is bent. Try a fresh needle first since that is the quickest fix.
Work slowly the first few times. It genuinely gets faster with repetition.
Frequently asked questions
How do I know which direction to put the bobbin in?
Most machines want the thread to unwind counterclockwise when you look down into the bobbin area. There is almost always a small arrow or diagram printed inside the compartment or on the cover. If you have lost yours, the machine's manual (often downloadable free from the manufacturer's website) will show the correct orientation.
Can I use any thread to wind a bobbin?
Yes, as long as the thread weight is appropriate for your project. Many sewers use the same thread for the top and bobbin to keep stitch color consistent on both sides of the fabric. Some quilters use a neutral gray or white bobbin thread regardless of the top color, which is fine and saves thread.
My bobbin keeps coming out during sewing. Why?
Usually the bobbin case latch is not fully closed (front-loading machines), or the bobbin cover was not replaced securely (drop-in machines). Check that the case clicked into place. On front-loading machines, the latch needs to point straight down when you close the door.
How full should I wind the bobbin?
Wind it until the thread reaches the edges of the bobbin flanges (the flat sides) but does not overflow them. Overfilled bobbins do not fit properly and can bind in the compartment. Most machines have a small bobbin-winding stopper that kicks the spindle out automatically when the bobbin is full.
Why does my thread break right when I start sewing?
Two likely causes: the thread tail is too short (leave at least 4-5 inches / 10-12 cm), or the thread is not properly through the bobbin case's tension spring. Re-load the bobbin, pull a generous tail, and hold both threads toward the back of the machine as you take your first stitch.