How to Thread a Sewing Machine Step by Step
Threading a sewing machine is the first real skill a beginner needs, and it is also the one that causes the most muttered frustration. The good news: once you have done it a handful of times, it takes about 90 seconds. This guide walks through every step slowly so you understand what the thread is actually doing, not just where to poke it.
Before you start, make sure your machine is switched off or unplugged. You will be working close to the needle, and the presser foot lever will drop without warning if you brush it by accident.
What you need before you begin
Gather these before you sit down:
- A spool of thread (all-purpose polyester or cotton, 50wt, works on almost every machine)
- A bobbin already wound with the same thread (see our guide on how to wind and load a bobbin correctly if yours is empty)
- A scrap of quilting cotton or calico, two layers thick, for testing once you are done
- Good light, either a desk lamp or the machine's built-in bulb
One thing beginners often skip: consult your machine's manual for the exact threading path. Brands differ, sometimes wildly. A Brother and a Janome both have numbered guides printed on them, but the guides do not always line up in the same order. The steps below follow the standard path found on most front-loading machines, but your manual is the final word.
How to load the bobbin
The bobbin sits in a small compartment beneath the needle plate, called the bobbin case or bobbin area. On most modern machines it is a drop-in (top-loading) style, which means you slide the bobbin in from the top with the lid open.
For top-loading (drop-in) bobbins
- Slide the bobbin cover off the front or top of the needle plate.
- Drop the bobbin into the case so the thread unwinds counterclockwise when you look down at it. This direction matters. If the bobbin spins the wrong way, stitches will loop and tangle.
- Pull the thread through the small slot cut into the rim of the bobbin case, then leave about 6 inches (15 cm) of thread hanging free.
- Replace the cover, leaving that tail of thread accessible.
For front-loading bobbins
Front-loading machines have a removable metal bobbin case that you insert separately. Drop the wound bobbin into the case, pull the thread through the slot and under the small spring, then click the case into the machine until you hear it snap. The thread tail hangs out through the opening.
If you are not sure which type you have, look at the needle plate area. A drop-in bobbin sits right there in a round compartment; a front-loading machine has a hinged door on the front of the machine body that opens to reveal the case.
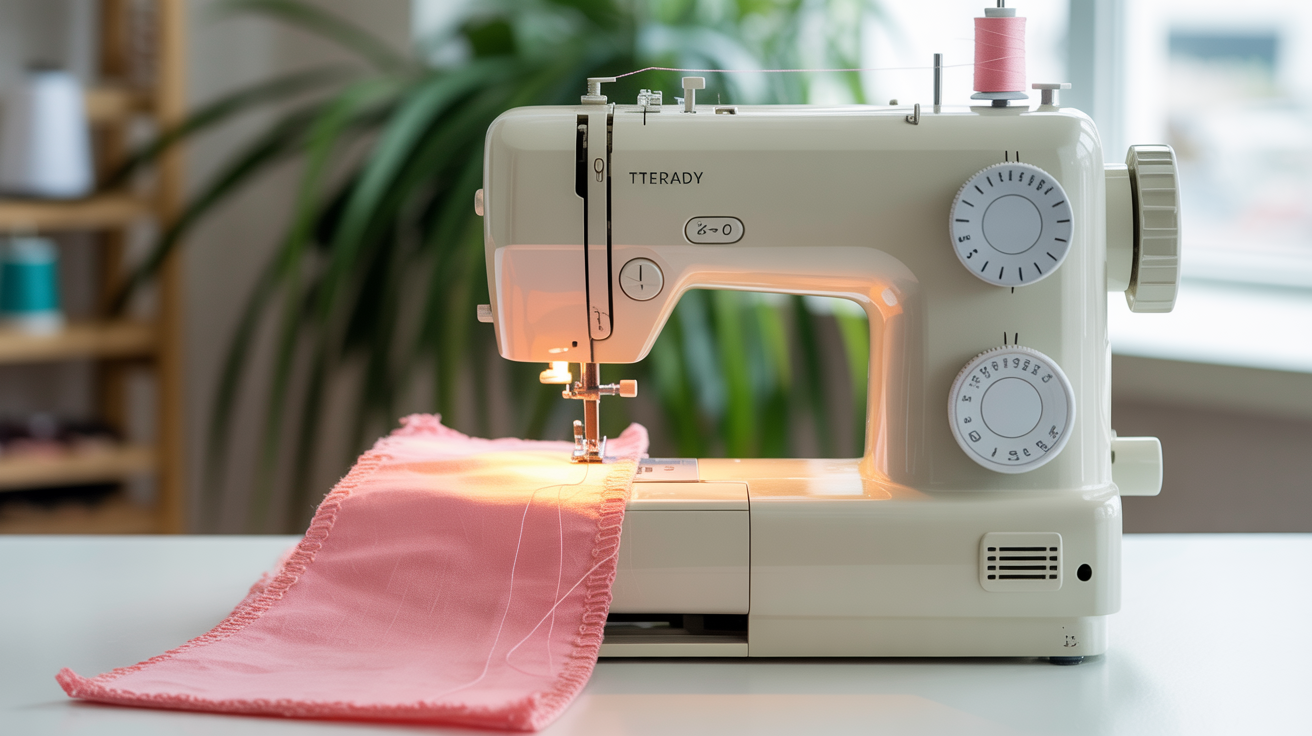
How to thread the upper thread
This is what most people mean when they say "threading a sewing machine." The upper thread travels from the spool down to the needle through a specific path, and every guide point matters.
Work with the needle in its highest position (turn the handwheel toward you, which is the safe direction, until the needle is all the way up). Raise the presser foot lever too. Lifting the presser foot opens the tension discs, which lets the thread seat properly inside them.
Follow these steps in order:
- Place the thread spool on the spool pin. If your machine came with both a vertical and a horizontal spool pin, check your manual for which one to use with the type of spool you have. Felt spool caps or the small plastic rings your machine came with keep the thread from tangling at the base.
- Guide the thread toward the first guide. This is usually a small hook or channel at the top of the machine, sometimes labelled "1." Pull the thread to the left, toward the back of the machine.
- Pull the thread down through the tension channel. This is the long vertical slot on the front of the machine. The thread goes down through one side of the channel, around the bottom, and back up the other side. You are wrapping the thread around the tension discs without seeing them, but if the presser foot was raised in step one, they will grip the thread correctly.
- Hook the thread through the take-up lever. This is the metal arm with a small hole or hook that moves up and down when you sew. It is the piece that looks like a hitchhiker's thumb sticking out. The thread goes through the hole from right to left. Missing this guide is the single most common threading error, and it causes the thread to pull out of the needle on the first stitch.
- Continue down through any lower guides. Most machines have one or two small thread guides between the take-up lever and the needle. Thread through each one.
- Thread the needle. Most needles on home machines thread from front to back. Some machines have a built-in needle threader: follow the lever's motion, hook the tiny wire through the needle's eye, loop the thread around the hook, then pull back. If threading by hand, cut the thread end cleanly with scissors (do not bite or tear it), pinch it close to the end, and push it through the eye with good light behind the needle.
Leave about 6 inches (15 cm) of upper thread hanging free past the needle.
How to pull up the lower thread
Before you sew, the two threads need to be brought together above the needle plate so they do not tangle below the fabric on that first stitch.
- Hold the upper thread loosely with your left hand.
- Turn the handwheel toward you one full rotation so the needle goes down and then comes back up.
- Tug gently on the upper thread. A loop of the lower (bobbin) thread will come up through the needle plate hole.
- Pull that loop all the way up so you have a long tail of both threads.
- Lay both threads toward the back of the machine, under the presser foot.
Now you are ready to sew. Test on your scrap piece of calico or quilting cotton before starting on any real project.
Quick troubleshooting: when the threading goes wrong
| Problem | Likely cause | Fix |
|---|---|---|
| Thread pulls out of needle on first stitch | Missed the take-up lever | Re-thread from the top, making sure the thread passes through the lever's hole |
| Upper thread breaks immediately | Thread not seated in tension discs | Re-thread with presser foot raised so the discs are open |
| Loops of thread underneath the fabric | Bobbin inserted backward or upper thread not tensioned | Check bobbin direction, re-thread upper path |
| Thread jams and bunches ("bird's nest") | Both threads not pulled to the back before sewing | Re-thread, pull both tails back, test on scrap |
| Needle unthreads after one or two stitches | Thread tail too short | Leave at least 6 inches (15 cm) hanging free |
If your stitches look uneven or the tension seems off even after correct threading, our article on sewing machine tension explains what the numbers on your tension dial actually control and how to test and adjust them on scrap fabric.
A few things that trip up beginners
Always raise the presser foot before threading
This is worth saying again because it is easy to forget when you are concentrating on the threading path. The presser foot lever controls the tension discs. Thread with the foot down and the discs stay closed; the thread sits alongside them rather than inside them. The machine will sew, but the upper thread will have almost no tension, and your stitches will loop badly on the underside of the fabric.
The handwheel direction
Turn it toward you, not away. Turning it away from you (counterclockwise on most machines) can cause the hook mechanism inside to jam or the thread to wrap around internal parts. It is the kind of mistake that leads to an unscheduled disassembly.
Rethreading from scratch is faster than fixing a partial tangle
When something goes wrong and you are not sure where the thread parted company with a guide, pull the thread completely out and start from the spool. It takes less than two minutes and it is almost always faster than hunting for a single missed guide.
For a broader introduction to everything your machine can do once it is threaded and running, our complete beginner's guide to using a sewing machine covers speed control, stitch selection, and how to start and stop neatly.
Frequently asked questions
Why does my thread keep coming out of the needle when I start sewing?
The most common reason is a missed thread guide, particularly the take-up lever. Re-thread the entire upper path from the spool, and confirm the thread passes through the lever's hole. Also check that both thread tails are at least 6 inches (15 cm) long and pulled toward the back of the machine before you start stitching.
Does it matter what direction the thread unwinds from the bobbin?
Yes. The bobbin should unwind counterclockwise when viewed from above in a top-loading machine. If it unwinds the wrong way, the thread will not feed through the tension slot in the bobbin case correctly and you will get looping or skipped stitches on the underside of your fabric.
Can I use the same thread in the bobbin and the upper thread?
Yes, and for beginners this is the easiest approach. Use the same weight and fiber content in both. Mismatched thread weights (such as thick topstitching thread on top and fine lingerie thread in the bobbin) can create tension problems that are hard to diagnose.
How often should I re-thread my machine?
Re-thread at the start of every sewing session. If your machine has been sitting for a few weeks, dust and humidity can affect how thread sits in the tension discs. A fresh threading takes 90 seconds and rules out a lot of problems before they start. Also re-thread any time you change your thread color or fiber, and whenever you change the needle.
My machine has numbers printed on it for the threading path. Do I have to follow them in order?
Yes. The numbers indicate the sequence the thread needs to follow to sit correctly in each guide. Skipping a step or threading out of order usually means the thread misses a tension point, which shows up as poor stitch quality or broken thread the moment you start sewing.