How to Sew a Blind Hem by Hand or by Machine for a Clean Finish
A blind hem stitch is the reason a good pair of trousers doesn't show a visible line of stitching wrapped around the leg. From the outside, all you see is a smooth fold. From the inside, the thread zigzags along, catching only a thread or two of the outer fabric at a time. It's one of those techniques that looks fussy in a diagram and then turns out to be pretty forgiving once your hands know what they're doing, whether you do it with a needle or let your machine take over.
This guide covers both routes: sewing a blind hem entirely by hand, and setting up a machine with a blind hem foot to do the same job faster. Both start with the same setup step, so we'll get that out of the way first.
What Makes a Hem "Blind"
A blind hem hides its stitching inside the fold of fabric instead of running it flat across the surface. Picture a hem folded up and pressed, with the raw edge either serged, pinked, or turned under. Instead of stitching straight through both layers close to that folded edge (which is what a topstitched hem does), you fold the garment back on itself so only a sliver of the hem allowance peeks out, then stitch across that sliver, catching just a few threads of the main fabric each time the needle swings over.
Because each stitch only grabs a couple of threads, the hem doesn't pucker and the thread barely shows once you unfold everything flat again. That's the whole trick. It takes more setup than a straight seam, but the payoff is a hem that reads as "tailored" instead of "homemade," which matters a lot on trousers and formal skirts where the hem sits right at eye level when someone's talking to you.
The Fold-and-Press Setup That Both Methods Need
Before you thread a needle or touch the machine, the fabric has to be folded correctly, and this step is where a lot of first attempts go wrong. Skipping it or rushing it is the single biggest reason a blind hem ends up crooked or catches too much fabric.
- Finish the raw edge of your hem allowance first, either by serging it, pinking it with pinking shears, or turning it under a quarter inch and pressing.
- Fold the hem up to the finished length and press it flat, exactly the way you would for any hem. If you haven't pressed a hem before, our guide on how to press seams the right way covers the heat, steam, and pressing-cloth basics that apply here too.
- Now fold the garment back on itself, right sides together, so the finished hem edge sticks out past the fold by about a quarter to three-eighths of an inch. You're essentially rolling the main body of the garment away from you, leaving just a narrow strip of the hem allowance exposed.
- Pin along that fold to hold it in place, keeping pins parallel to the fold rather than perpendicular so they don't get in the way of the needle.
That exposed strip is what you'll be stitching into. Get the width of it consistent all the way around, because a strip that's too wide will show on the right side, and one that's too narrow will make the machine's needle miss the fabric entirely.
Sewing a Blind Hem by Hand
The hand version uses a stitch that goes by a few names (blind hem stitch, catch stitch hem, invisible hem stitch) but the motion is the same everywhere. It's a close cousin of the slip stitch, and if you've already learned how to use a slip stitch for invisible hand sewing, the hand movement here will feel familiar.
The stitch, step by step
Thread a hand needle with a single strand of thread that matches your fabric color, knotted at the end. Working from the folded setup above:
- Bring the needle up through the folded edge of the hem allowance (the narrow strip that's sticking out), hiding the knot inside the fold.
- Take a tiny stitch into the main garment fabric just above the fold, picking up only a thread or two. This is the part that keeps the stitching invisible, so resist the urge to grab a bigger bite for speed.
- Move about a quarter inch to the side and take another small stitch through the hem allowance fold, then another tiny bite of the garment fabric, and repeat.
- Keep tension loose. A blind hem pulled tight will pucker the outside of the garment, which defeats the point.
Work all the way around, then unfold the garment and press the hem flat again. From the right side you should see nothing but the occasional faint dimple where the thread pulls, and from the wrong side you'll have a neat zigzag of stitches connecting the hem allowance to the body of the garment.
Sewing a Blind Hem by Machine
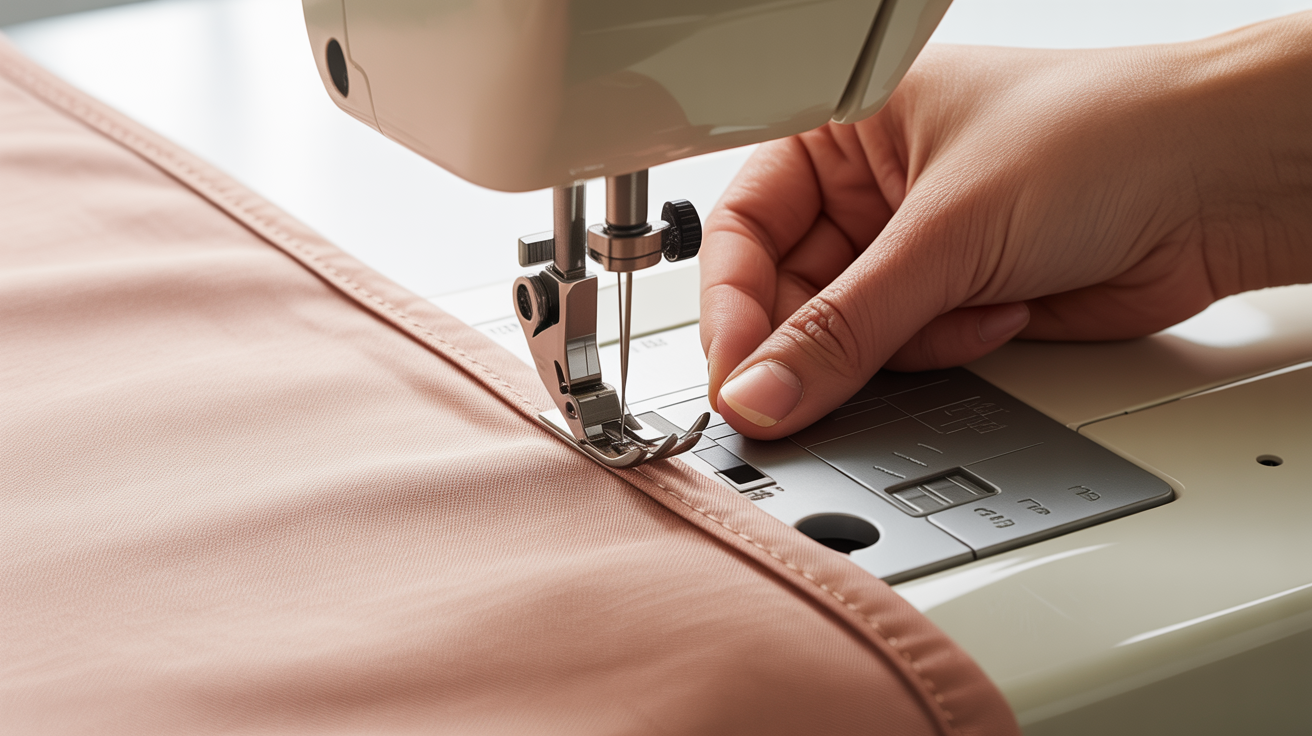
A machine blind hem uses a specific stitch pattern (usually several small straight stitches followed by one wide zigzag) paired with a blind hem foot that has a little metal guide down the center.
Setting up the blind hem foot
- Attach the blind hem foot and select the blind hem stitch on your machine. Most machines label it clearly in the stitch menu; consult your manual if the icon isn't obvious.
- Fold the fabric exactly as described above, with the narrow strip of hem allowance exposed.
- Position the fold so the folded edge of the garment rides against the guide on the foot. The guide keeps the zigzag stitch swinging just far enough to catch the fold without wandering.
- Sew slowly for the first few inches, watching where the wide zigzag lands. It should just barely nick the folded edge, taking a bite similar in size to what you'd do by hand.
- Adjust the needle position or the guide (check your manual for the exact dial or screw) if the zigzag is either missing the fold completely or biting too deep and showing on the right side.
This is exactly the same principle used for hemming pants by machine, except that guide handles a topstitched finish instead. The blind hem stitch swaps that visible topstitching for something that disappears into the fold.
Troubleshooting a machine blind hem
If the stitching shows too much on the right side, your fold guide is set too aggressively, or the exposed strip of hem allowance is too narrow. Widen it slightly and test again on a scrap.
If the zigzag misses the fold entirely and just sews a straight line down the hem allowance, the fold isn't sitting against the guide. Reposition and try a slower, steadier feed.
Always test on a folded scrap of your actual project fabric before committing to the real garment. Fabric weight and stretch change how much the zigzag bites, and a setting that's perfect on quilting cotton can look sloppy on a lightweight rayon.
When a Blind Hem Beats a Topstitched Hem
A visible topstitched hem is faster and perfectly fine for casual clothes, but a blind hem earns its keep on garments where a line of stitching would look out of place. Dress trousers and tailored skirts are the classic case: the eye reads a visible hem stitch as casual, so a blind hem keeps the garment looking finished and a little more formal. Curtains and drapery panels are the other common use, since a topstitched line would show as a shadow line against the window from certain angles, while a blind hem keeps the drape smooth.
Casual garments in sturdy fabric (jeans, play clothes, most children's clothing) don't need the extra effort. The stitching will take more wear on a topstitched hem, and nobody's inspecting the hemline on a pair of everyday jeans the way they might on wool trousers.
Frequently Asked Questions
What's the difference between a blind hem and a slip stitch hem?
They're closely related. A slip stitch hem is sewn entirely by hand with the stitch moving between the folded hem edge and the garment, similar to what's described above. "Blind hem stitch" more often refers to the machine version done with a dedicated foot and stitch setting, though both aim for the same invisible result and either term gets used loosely.
Can I do a blind hem without a blind hem foot?
It's much harder without one. The foot's guide is what keeps the zigzag landing in the right spot consistently. Some machines can approximate it with a narrow zigzag and careful hand-guiding, but expect more trial and error, and it helps to test extensively on scrap fabric first.
Why does my machine blind hem show on the right side?
Almost always the exposed strip of hem allowance is too narrow, or the fold isn't riding snugly against the foot's guide. Widen the strip slightly, make sure the fold sits flush against the guide, and test the stitch width and needle position on a scrap before sewing the real hem.
How wide should the hem allowance be for a blind hem?
Anywhere from one to two inches works for most garments, enough to fold, finish the raw edge, and still have fabric to spare. Thicker or heavier fabrics do better with a narrower allowance so the folded bulk doesn't fight the machine.
Does a blind hem work on knit fabric?
It can, but knits stretch and can pucker under the machine's zigzag more easily than wovens. Loosen the tension slightly, use a walking foot if your machine's blind hem foot doesn't feed knits well, and always test on a scrap first since knit weight varies so much between fabrics.