How to Sew a Double-Fold Hem on Almost Anything
A double-fold hem is the most reliable way to finish a raw edge. You fold the fabric twice, enclosing the raw edge inside, then stitch once. The result is clean on both sides and holds up through repeated washing. This guide walks you through the whole process so you can apply it to pants, skirts, curtains, or nearly any fabric project.
What a Double-Fold Hem Actually Is
A single-fold hem folds the fabric once and stitches the raw edge in place, leaving it visible on the inside. A double-fold hem folds twice, so the raw edge is tucked inside the second fold and never exposed. That makes it neater, more durable, and appropriate for fabric that frays easily.
The typical double-fold hem uses two equal folds. For example, a 1-inch hem means folding up 1 inch, then folding up another 1 inch. This gives you 1 inch of finished hem depth when viewed from the outside. You can adjust the fold depth based on the project. Curtains often use a 2-inch double fold. Lightweight blouses might need only a 1/2-inch fold.
Before you start, always test your settings on a scrap piece of the same fabric. Stitch length, iron temperature, and fold depth all depend on what you're sewing.
What You Need
- Fabric, pressed flat
- Iron and ironing board
- Ruler or seam gauge
- Fabric marking pen, tailor's chalk, or pins
- Sewing machine (or needle and thread for hand sewing)
- Scissors or seam ripper if you need to adjust
A seam gauge is especially useful here. It's a small metal ruler with a sliding marker that lets you measure the same depth consistently as you press along the hem. You can find one at any fabric store for a few dollars.
How to Sew a Double-Fold Hem Step by Step
Mark and Trim the Hem Allowance
Decide how deep your hem will be. For most garments, 1 inch works well. You need twice that amount plus a little extra in your hem allowance, so about 2 to 2.5 inches of fabric below the seamline is a reasonable starting point.
If you're hemming a garment already cut to length, check that you have enough fabric. If not, you may need to use a narrower fold or a single-fold method instead.
Press the First Fold
Fold the raw edge up by the depth of one fold. For a 1-inch double-fold hem, fold up 1 inch. Use your seam gauge to keep the fold consistent as you work along the hem.
Press that fold with a hot iron appropriate for your fabric. This is the step that makes the difference between a tidy hem and a lumpy one. Pressing well takes practice but pays off immediately. Let the fabric cool before you move on.
Press the Second Fold
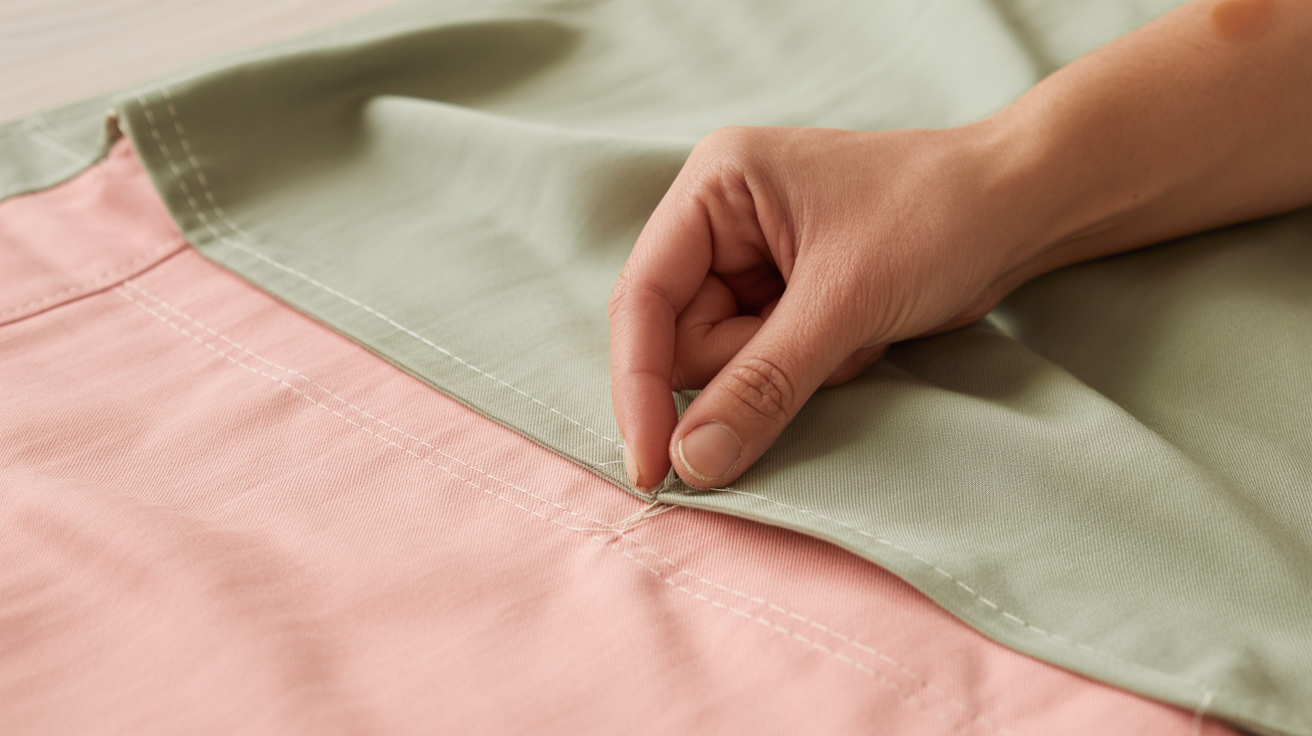
Fold the pressed edge up again by the same amount. This buries the raw edge inside. Press this fold firmly as well, pinning as you go if the fabric wants to shift.
At this point, the hem should look finished on the inside of the garment. The raw edge is fully enclosed. If you see the raw edge peeking out, unfold and adjust until it is hidden.
Stitch the Hem
Sew along the upper folded edge, keeping your stitching close to the edge of the fold, about 1/8 inch in. A straight stitch works for most fabrics. Stretch fabrics need a stretch stitch or a narrow zigzag so the thread can give when the fabric moves.
Sew slowly at the start and end, and backstitch a few stitches to secure the thread. If your machine has a needle-down function, use it so the fabric does not shift when you stop.
Adjusting for Different Fabrics
The double-fold hem works on most fabrics, but you need to adapt the approach slightly depending on what you're sewing.
| Fabric type | Suggested fold depth | Iron setting | Notes |
|---|---|---|---|
| Cotton quilting fabric | 1/2 inch x 1/2 inch | High | Easy to press, holds shape well |
| Denim | 1 inch x 1 inch | High | Press firmly; topstitch with heavier thread |
| Linen | 1/2 inch x 1/2 inch | High with steam | Frays easily; fold promptly after cutting |
| Polyester | 1/2 inch x 1/2 inch | Low to medium | Test iron temperature first |
| Knit jersey | 3/8 inch x 3/8 inch | Medium | Use a twin needle or stretch stitch |
| Sheer fabric | 1/4 inch x 1/4 inch | Low | Very narrow fold; pin closely |
On thick fabric like denim, the bulk of four layers at a corner or side seam can be tricky. Grade the seam allowance at those spots by trimming it diagonally so the folded layers do not stack up as much.
Finishing the Raw Edges Underneath
One of the benefits of a double-fold hem is that it handles raw edges on its own. The second fold encloses the fabric so no further finishing is needed in most cases.
If the fabric frays heavily and you are concerned about the inner fold coming apart over time, you can finish the raw edge before folding. A quick zigzag stitch along the raw edge before you begin pressing adds extra security. This is particularly useful on loosely woven fabric. Several ways to finish raw edges without extra bulk are worth knowing for situations where a clean inner fold matters.
Troubleshooting Common Problems
The stitching shows too much on the outside. Most hem stitches are visible, and that is fine on casual garments. If you want invisible stitches, use a blind hem stitch on your machine or sew by hand with a slip stitch. Both methods catch only a thread or two of the outer fabric so the line is nearly invisible.
The hem ripples or puckers. This usually means the feed dogs pulled the fabric unevenly, or the stitch length is too short. Try a slightly longer stitch and ease the fabric gently rather than pulling it. Press the finished hem again to help smooth it out.
The hem folds are uneven. Take your time pressing with a seam gauge. Rushing the pressing step is the most common reason hems end up crooked.
Thick seam intersections are hard to sew through. Use a hump jumper or a folded piece of fabric behind the presser foot to level it out at bulky spots. Slow down and let the machine work through the layers.
Frequently Asked Questions
Do I have to use an iron when sewing a double-fold hem?
Pressing is not strictly required, but it makes a significant difference. An unironed hem tends to shift while you sew, leading to uneven results. Even a quick press locks the folds in place so stitching goes smoothly. If you do not have an iron available, pin the folds closely as a temporary substitute, though the results are usually not as clean.
Can I sew a double-fold hem by hand instead of by machine?
Yes. A slip stitch or fell stitch works well for a hand-sewn double-fold hem. Press the folds as usual, pin them in place, then stitch by hand catching just a thread of the outer fabric on each pass. Hand hemming takes longer but can be more invisible than machine stitching, which is useful on dress pants or delicate fabrics.
How do I hem a curved edge like a shirt hem?
Curved hems require a little extra care because the inner fold needs to ease around the curve. Make small notches or clips into the hem allowance before folding on a concave curve, or sew a row of gathering stitches to ease fabric on a convex curve. Press in small sections around the curve rather than pressing long straight sections. Getting comfortable with straight seams first helps build the control you need for curved work.
What stitch length should I use for a machine-sewn hem?
A stitch length of 2.5 to 3 mm works for most woven fabrics. Go shorter, around 2 mm, for lightweight or fine fabric. For knits, use a stretch stitch or a zigzag set to about 2.5 mm length and 1 to 1.5 mm width. Always test on a scrap first.
How do I know if my hem allowance is long enough?
Measure from the intended hemline down to the cut edge. For a 1-inch double-fold hem, you need at least 2 inches of fabric below the hemline. If you have less than that, try a narrower fold, such as 3/8 inch folded twice, which needs only about 1 inch of hem allowance.