How to Sew a Running Stitch (and When to Use It)
The running stitch is the first stitch almost every sewer ever learns. It is a simple in-and-out movement through fabric, and once you have it, a whole lot of other hand sewing makes sense. This guide walks you through exactly how to do it, what it is good for, and what to watch out for if your stitches are coming out uneven or loose.
What is a running stitch
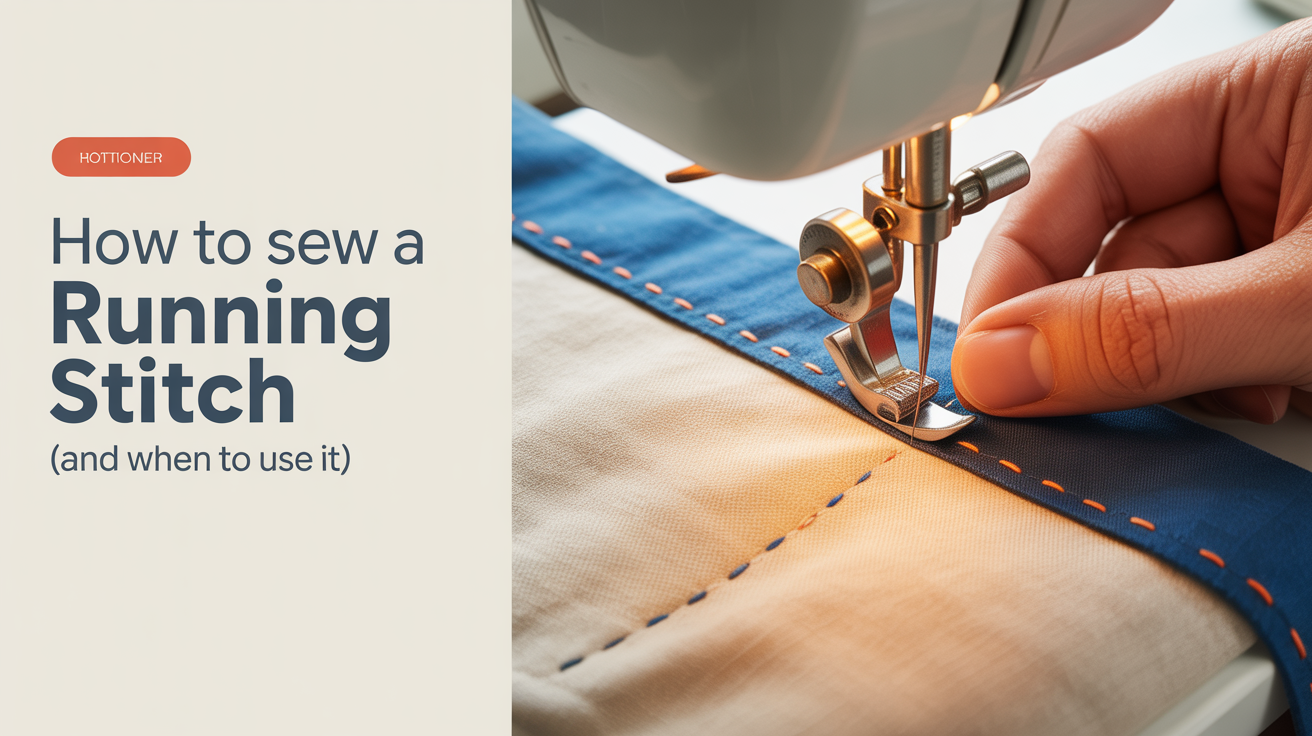
A running stitch is a series of small, even stitches where the needle passes in and out of the fabric in a straight line, leaving gaps of equal length between each stitch. Picture a dotted line on paper. The thread shows on both sides of the fabric, alternating between visible stitch and visible gap.
It is one of the oldest stitches in existence and still one of the most useful. Because it does not lock itself the way a machine stitch does, it is easy to pull out or adjust, which is exactly why sewers reach for it when they need a temporary hold or a gentle gather.
The running stitch is also called a basting stitch when it is used to hold pieces together temporarily before you sew them properly. The technique is the same; the purpose and the stitch length change a little.
What you need before you start
You do not need much. A few basics cover every running-stitch task:
- Needle: A sharp hand-sewing needle in size 7 or 8 works for most woven fabrics. A longer needle, sometimes called a milliners needle or straw needle, is easier to load multiple stitches onto at once.
- Thread: All-purpose cotton or polyester thread in a colour that contrasts with your fabric so you can see what you are doing.
- Fabric: Quilting cotton or calico is ideal for practice. Avoid stretchy knit fabric until you are comfortable with the motion.
- Scissors: Small, sharp embroidery scissors for trimming thread ends.
- Thimble (optional but helpful): If you are working through multiple layers or a tighter weave, a thimble on your middle finger protects you and gives you more pushing power.
If you have not threaded a needle before, read how to thread a needle and tie a knot that holds first. The knot at the end of your thread is what stops the whole thing from pulling straight through.
How to sew a running stitch, step by step
Work on a flat surface to start. Hold the fabric between your thumb and index finger, with your other hand underneath to guide the needle.
Start with a knot and an anchor stitch
Thread your needle with about 18 inches (45 cm) of thread. Longer thread tangles; shorter thread means constant re-threading. Tie a knot at the cut end.
Push the needle up through the fabric from the back to the front, pulling until the knot catches on the underside. Take one tiny backstitch at the very same spot, pulling through, to anchor the thread securely. This keeps the knot from popping through fine fabric.
Load the needle and pull through
This is the core motion. Push the needle tip down into the fabric about 3-4 mm (roughly 1/8 inch) ahead of where you started. Before pulling all the way through, rock the needle tip back up through the fabric another 3-4 mm ahead. You now have a small loop of fabric on the needle.
You can load two, three, or even four stitches onto the needle this way before pulling the thread through. This is the rocking or scooping motion that makes hand sewing feel rhythmic once you get it. Pull the thread through smoothly and snugly, but without puckering the fabric.
Keep stitches even
Aim for stitches and gaps that are roughly the same size. For most hand-sewing tasks, 2-3 mm (about 1/8 inch) per stitch is tidy and secure. For basting, you can go much longer, up to 6-10 mm (1/4 to 3/8 inch), because you will be removing those stitches later and want them easy to pull out.
You do not have to be perfect. Experienced sewers have slightly uneven running stitches too. What matters more is that the fabric is not puckered and the stitching line follows where you intended to go. If you are having trouble staying on track, draw a light pencil or chalk line first and stitch along it.
Finish with a secure knot
When you reach the end of your stitching line, take a small backstitch through the last few threads on the back of the fabric and pull until it forms a loop, then pass the needle through that loop and pull tight. Repeat once more for security. Trim the thread to about 1/2 inch (1.5 cm).
When to use a running stitch
The running stitch is more useful than it might look. Here are the main places you will reach for it:
| Use | Stitch length | Removed afterward? |
|---|---|---|
| Basting (temporary hold before machine sewing) | 6-10 mm (1/4-3/8 in) | Yes |
| Gathering fabric (ruffles, shirring) | 4-6 mm (3/16-1/4 in) | No |
| Quilting (stitching through quilt sandwich) | 2-3 mm (1/8 in) | No |
| Mending a small split seam | 2-3 mm (1/8 in) | No |
| Outlining in embroidery | 2 mm or less | No |
| Attaching interfacing temporarily | 6-10 mm | Yes |
Basting is worth a closer look because beginners sometimes skip it and regret it. When you need to join two pieces of fabric before putting them under a machine, especially something tricky like a curved edge or a collar, a row of long running stitches holds everything exactly where you want it. You sew the real seam, then pull out the basting thread. It takes five extra minutes and can save a project.
For gathering, you sew two parallel rows of long running stitches along the edge you want to ruffle, leaving long thread tails. Then you pull the bobbin thread from both ends simultaneously and the fabric slides up into gathers. This is how ruffled skirt hems and puffed sleeves are made.
Common mistakes and how to fix them
Stitches are uneven
This is almost always a needle angle issue. If you tip the needle at a steep angle when pushing down, you scoop more fabric on one pass than the other. Try keeping the needle nearly parallel to the fabric surface while scooping, and rock it gently rather than plunging straight in.
Thread keeps knotting or tangling
Thread has a direction it unwinds from the spool, and sewing against that direction encourages it to twist back on itself. Try a shorter length (16-18 inches / 40-45 cm) and run it once across beeswax or a bar of dry soap before you start. The wax smooths the fibres and greatly reduces tangles.
Fabric is puckering along the stitch line
You are pulling the thread too tight after each pass. The thread should lie in the fabric, not squeeze it. After you pull through, lay the fabric flat and give the thread a tiny slack before continuing.
The thread pulls out at the beginning
Your starting knot is either too small or the thread has slipped through the knot. A double knot holds better on slippery thread like polyester. For very fine fabric, use a small knot and that anchoring backstitch described above.
If you want a stronger, permanent seam rather than a removable one, the backstitch is the next stitch to learn. It locks on itself with each stitch and is much harder to pull apart.
Practising before you use it on a real project
Before you put a running stitch on anything you care about, spend ten minutes on a piece of scrap quilting cotton or calico. Mark three parallel lines about 1/2 inch (1.5 cm) apart with a pencil. Sew a row of stitches along each line, trying a different stitch length on each row. Then hold the fabric up to the light and see how even your spacing is.
This kind of simple practice does more than any video can. Your hands learn the pressure and angle faster when they are actually holding a needle. Most beginners find their stitches even out noticeably within one or two practice rows.
Once you are comfortable with a running stitch, look at basic hand sewing stitches every beginner should learn to see what to add next. The running stitch is the foundation, but there is a small family of stitches that covers almost every hand-sewing job you will encounter.
Frequently asked questions
What is the difference between a running stitch and a basting stitch?
They are the same stitch made the same way. "Basting" is the name for a running stitch used as a temporary hold, sewn with longer stitches so it pulls out easily. When sewers say "basting" they almost always mean long running stitches in a contrasting thread.
How long should my stitches be?
For most permanent running-stitch work, aim for stitches around 2-4 mm (about 1/8 inch). For basting or gathering, you can go up to 6-10 mm (1/4-3/8 inch). The gaps between stitches should be roughly the same length as the stitches themselves.
Can I use a running stitch to sew a seam?
You can, but it is not the strongest choice for seams that take stress (like a side seam or a bag handle attachment). For a seam that needs to hold firmly, a backstitch gives you much more strength. A running stitch is fine for seams on lightweight embroidery projects or for gathering.
How do I keep my stitching line straight without a guide?
Mark a light line on your fabric with a fabric-marking pencil, chalk, or even a fold. Sewers also use masking tape laid along the fabric as a temporary guide. Once you have sewn a few hundred stitches, your eye improves and you need the guide less.
My running stitch looks neat on top but messy underneath. Is that normal?
Yes, completely normal when you are learning. The underside often looks less tidy because of how the needle angle changes mid-scoop. As your rocking motion becomes more consistent, both sides even out. If one side really matters for your project (like the underside of a quilt), slow down, load one stitch at a time, and pay attention to the needle angle on both the down and the up stroke.