How to Use a Seam Ripper to Undo Mistakes Cleanly
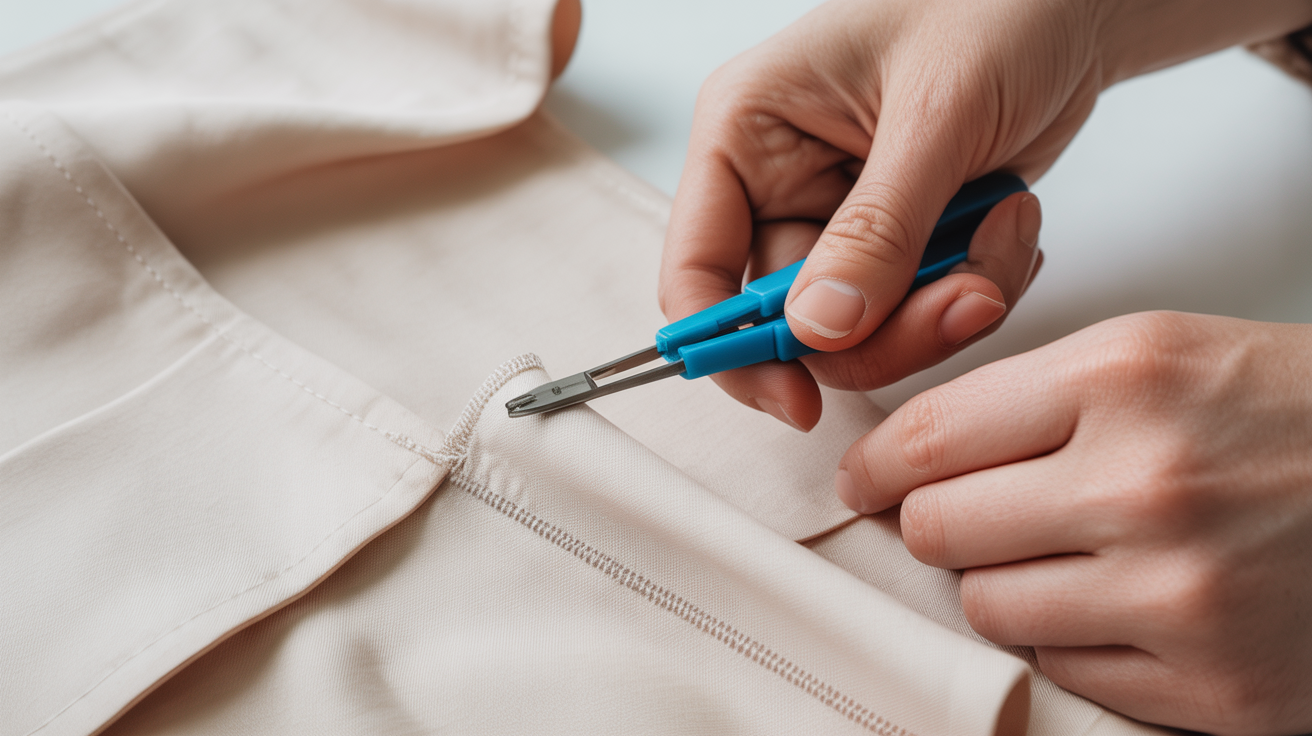
A seam ripper is the tool that makes mistakes forgivable. You push the pointed tip under a stitch, slide the curved blade through the thread, and the seam opens cleanly. Done right, the fabric looks untouched and you can resew with confidence. Done carelessly, you end up with nicks, holes, or frayed edges that are harder to fix than the original mistake.
This guide covers the correct technique for every situation: unpicking a machine-sewn seam, removing hand stitches, cutting out basting thread, and cleaning up the loose threads afterward.
What a Seam Ripper Actually Does
A seam ripper has three working parts. The longer prong pierces under a stitch loop. The shorter prong holds the thread in place while you cut. The curved blade between them slices the thread when you push forward.
The sharp red ball at the tip of many seam rippers is a safety bead, not a decoration. It glides along the seam line without snagging fabric threads as you guide the tool.
Choosing a Seam Ripper
Most beginners start with a basic plastic-handled ripper sold in sewing kits. That works fine. A few things to check:
- Sharpness. A dull blade drags and requires more force, which increases the chance of cutting fabric. Replace the ripper or just buy a new one when it starts to feel sticky rather than glide.
- Handle comfort. If you have a lot of stitches to remove, a chunkier ergonomic handle is worth it.
- Size. Finer rippers with a narrower gap are better for tight seams and delicate fabrics; larger ones move faster on heavy fabric.
How to Unpick a Machine-Sewn Seam
There are two reliable methods. Use the one that suits the length of the seam.
Method 1: Stitch by Stitch (Short Seams or Precision Work)
- Open the seam slightly and pull the two fabric layers apart at the start of the seam to expose a few stitches.
- Slide the long prong of the ripper under the first stitch on one side of the seam.
- Push forward gently so the blade cuts the thread.
- Flip the fabric over and pull the bobbin thread on the back. Every three or four stitches cut on the top, the bobbin thread will pull out as a single strand. Tug it free.
- Continue along the seam, alternating between cutting top stitches and pulling the bobbin thread.
This method is slower but very safe on delicate or loosely woven fabrics where accidental cuts cause real damage.
Method 2: Slide and Slash (Long Seams on Sturdy Fabric)
- Open the seam and stretch it gently flat so the stitches are visible.
- Push the long prong under the seam from the end, keeping the blade facing away from the fabric surface.
- Slide the ripper along the seam in one smooth motion, letting the blade cut successive stitches.
- Flip the work over. The thread on the back will now be loose. Roll it off with your fingers or use a piece of tape to lift it away.
This method is fast and works well on cotton, denim, or canvas. Avoid it on jersey knit, silk, or any fabric where the weave is loose enough that the ripper tip could catch a fabric thread.
Removing Hand Stitches and Basting Thread
Basting stitches (long temporary stitches used to hold pieces in place for fitting) are designed to come out, so they remove easily. The same basic technique applies to any hand sewing.
- Snip every fourth or fifth stitch with the ripper or small scissors.
- Grasp the thread on the cut side and pull. The alternating cuts break the thread into short segments that slide out without resistance.
- If the basting thread has been caught under a machine stitch by accident, cut it at that point and work each side out separately.
For decorative hand stitches or embroidery you want to preserve nearby, work slowly and use the stitch-by-stitch approach to avoid accidentally snipping the wrong thread.
Cleaning Up After Unpicking
Loose threads left in the fabric will cause problems when you resew. They can get caught under the presser foot, show through the new seam, or create bulk at intersections.
- Fingers first. Gather the cut threads and pull them away. Many will come off in one go.
- Tape method. Press a piece of masking or painter's tape firmly along the seam area and peel it back. The short thread ends stick to the tape.
- Lint roller. Works the same way on larger fabric pieces.
- Tweezers. For threads caught inside a woven fabric, a pair of fine tweezers pulls them out cleanly.
After cleaning up, press the seam area with an iron before you resew. Pressing relaxes the needle holes left by the original stitching and makes the fabric easier to handle. For guidance on pressing technique, see how to press seams the right way and why it matters.
Protecting Your Fabric While You Work
The most common damage from seam ripping comes from moving too fast or applying too much sideways pressure. A few habits help:
- Hold the fabric steady, not taut. Pulling the seam under tension while ripping increases the chance the blade catches a fabric thread.
- Work in good light. Distinguishing thread from fabric weave is much easier when you can actually see what you're cutting.
- Go slowly on synthetic fabrics. Polyester and nylon are woven tightly, but they snag easily and the damage looks different from cotton.
- Test on scrap first. If you are ripping a seam on an unfamiliar fabric for the first time, practice the sliding motion on a piece of similar scrap fabric to get a feel for how it responds.
Once you have the seam open and the threads removed, you are back to raw fabric edges. Before you resew, check whether those edges need finishing to prevent fraying. The guide on how to finish raw edges so fabric doesn't fray covers the main options by fabric type.
When you resew, use the same seam allowance as the original seam. The needle holes from the first pass sit right at the seam line and will be hidden inside the seam. For a refresher on maintaining consistent seam allowances, see how to sew a straight seam with the right seam allowance.
Frequently Asked Questions
How do I remove stitches without damaging the fabric? Slip the long prong under individual stitches rather than dragging the blade along the fabric surface. Cut stitches on one side, then pull the opposite thread free. This keeps the blade away from the weave and reduces the risk of nicking fabric threads.
Can I use a seam ripper on knit fabric? Yes, but use the stitch-by-stitch method rather than the slide-and-slash technique. Knit loops pull easily, and a fast sliding motion can stretch or snag the fabric. Work slowly and support the fabric from behind with your other hand.
Why does my seam ripper drag instead of cut? The blade is dull. Seam rippers are cheap enough that replacing one is easier than sharpening it. If a new ripper drags on the first use, the blade may have a manufacturing defect and is worth exchanging.
What do I do if I accidentally cut the fabric? Small cuts in woven fabric can sometimes be stabilized with a small piece of fusible interfacing pressed to the wrong side. This holds the cut threads in place and gives the area enough stability to resew. If the cut is significant, you may need to cut a replacement piece and patch or start the section again.
How do I remove stitches from a tight corner or curved seam? Work from the outside of the curve inward, cutting one or two stitches at a time. Curved seams have more thread tension at the outer edge, so a slow approach gives you better control. A fine-tipped ripper is easier to position accurately in tight corners than a wide one.